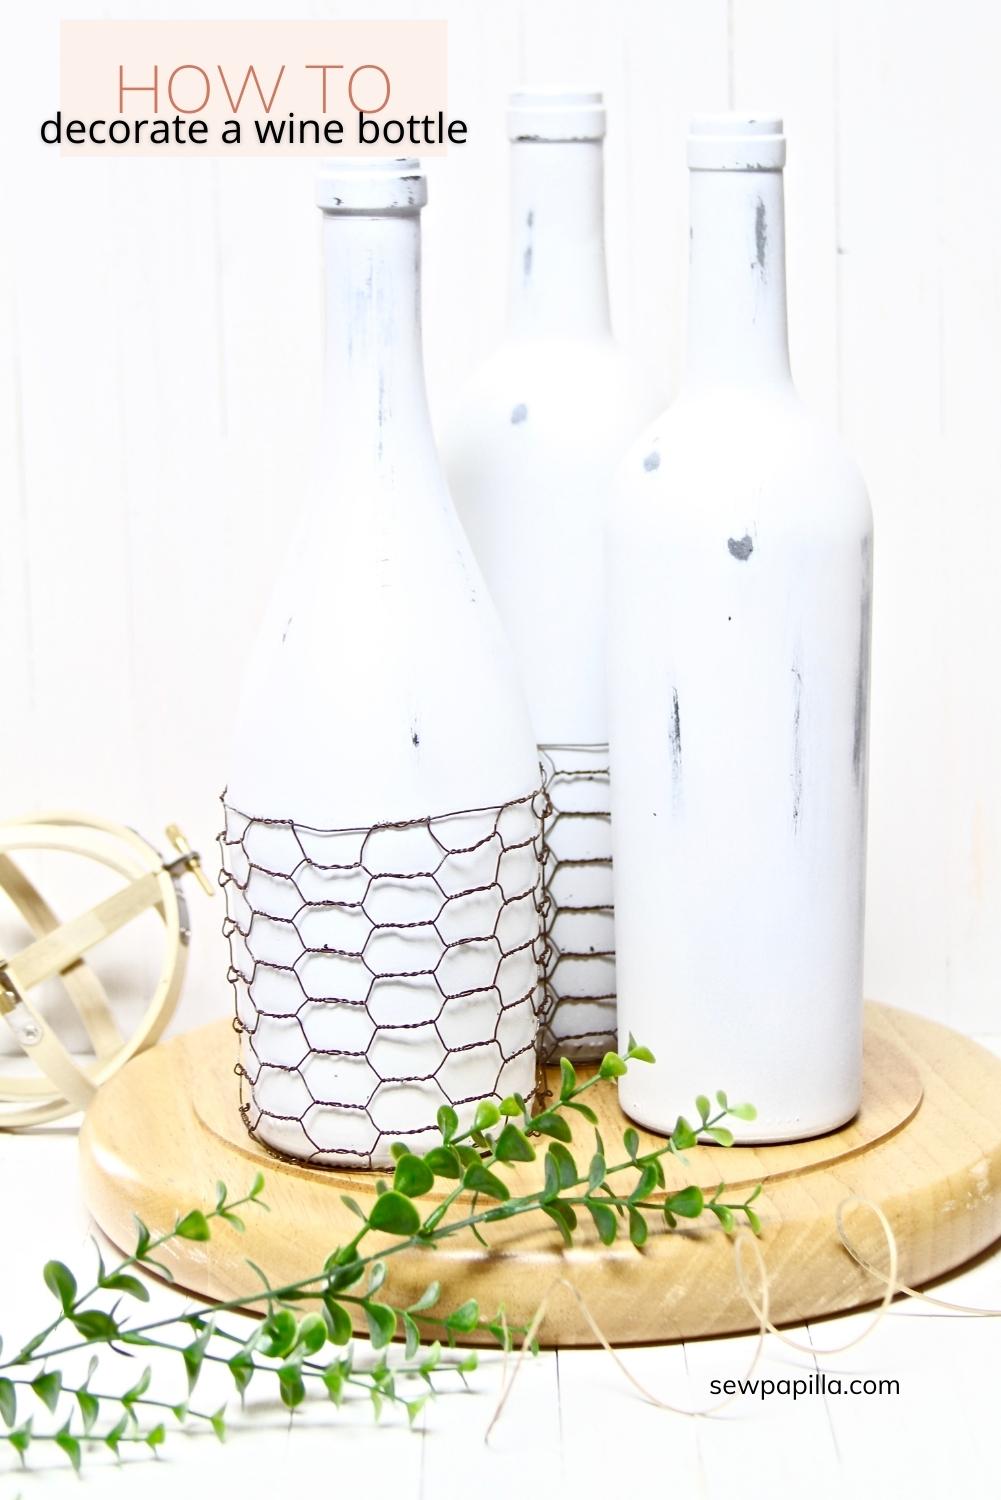
DIY DECORATED WINE BOTTLES: FARMHOUSE
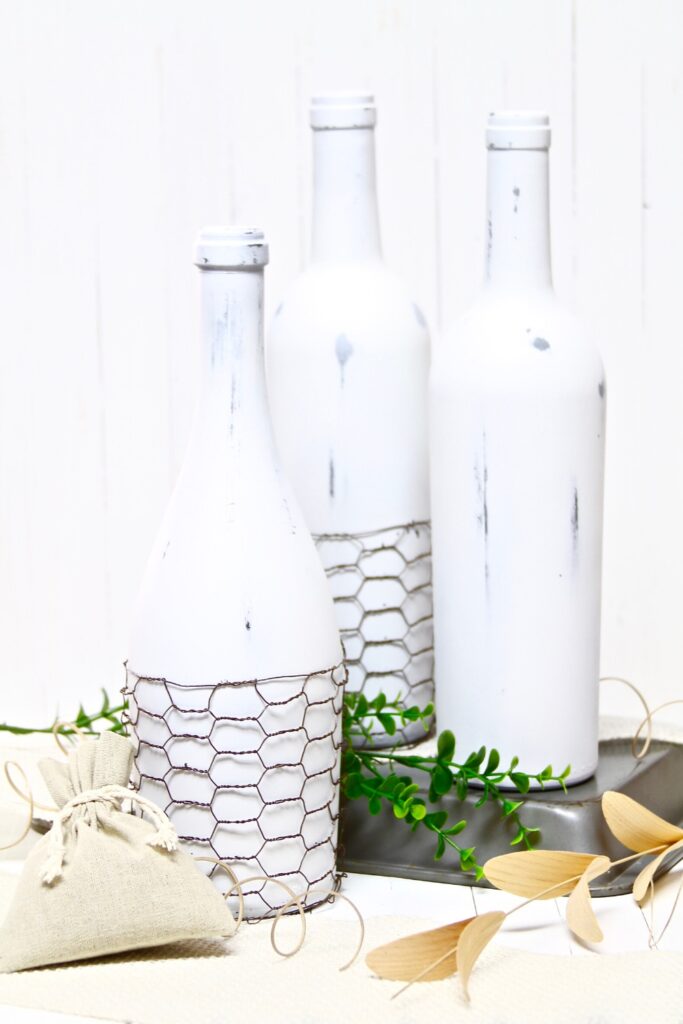
Make DIY decorated wine bottles! Get creative and decorate them into farmhouse-style home decor to warm up any space in your home.
I’ve seen creative DIY decorated wine bottle ideas floating around the net and wanted to try it.
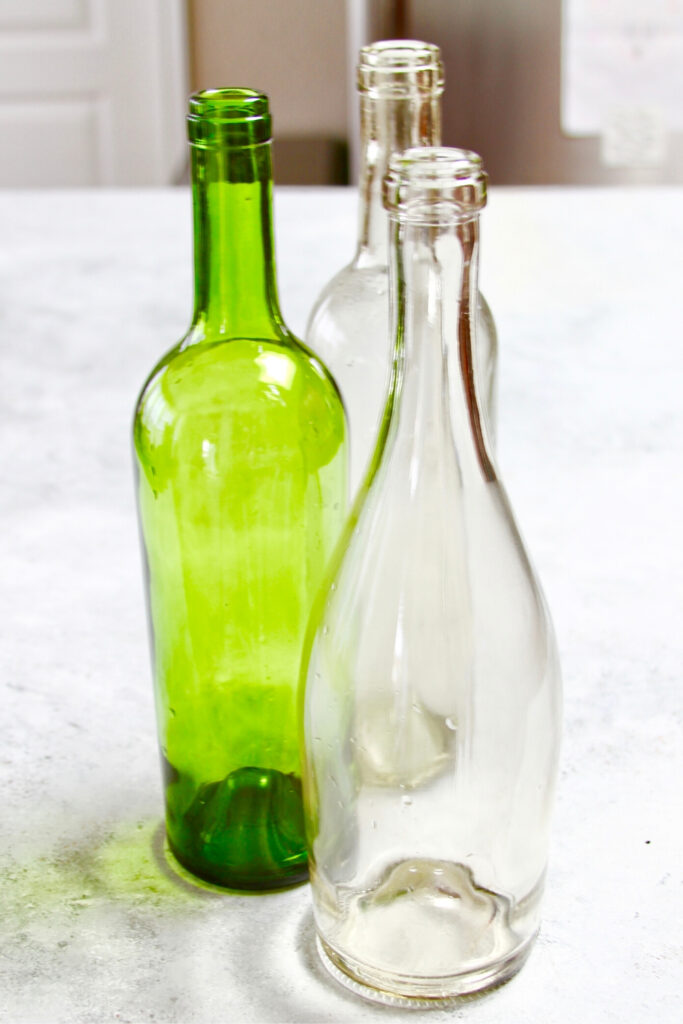
I’ve collected empty wine bottles from family members. Do you have empty wine bottles and wonder what to do with them?
I’m not a wine drinker. But, luckily my husband and some family members love the occasional glass of wine. And, they were kind enough to save me their empty wine bottles for my love of crafts.
Deciding how to decorate your wine bottles comes down to the style or theme you’re going for and for which purpose you are making them.
There are themed crafted wine bottles, rustic and farmhouse-styled wine bottles, and some have wine bottles repurposed into overhead lighting and so much more.
This simple project can add some instant beauty to my kitchen bar area. I’m planning on displaying fresh flowers in my farmhouse wine bottles.
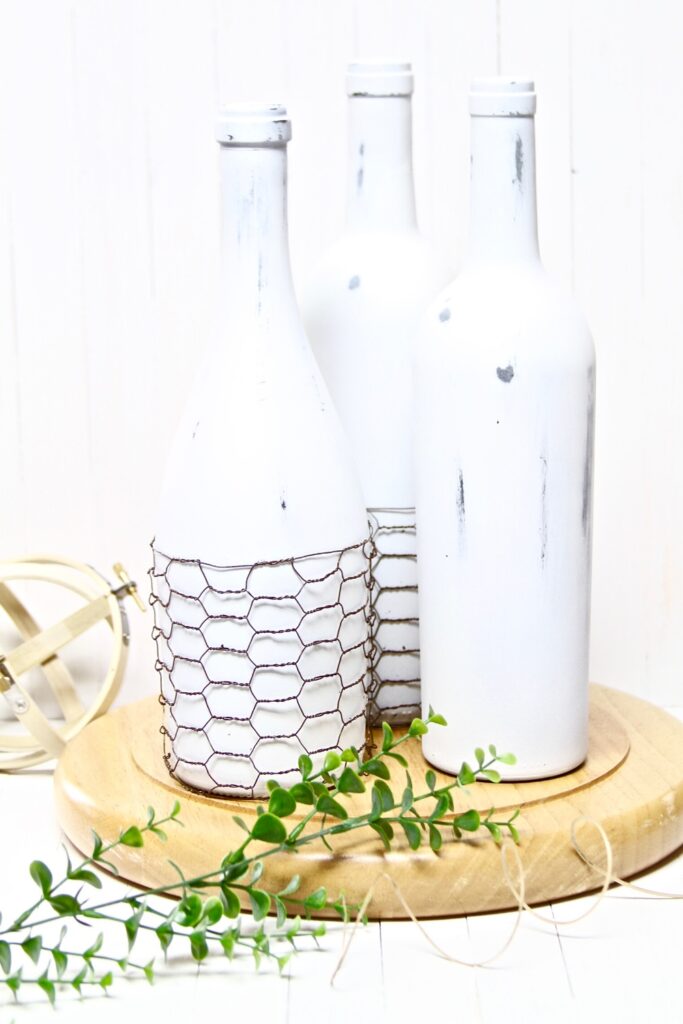
In this post, I’ll show you how to make a simple farmhouse-style wine bottle, and it’s simple and doesn’t require a lot of supplies and it’s easy on the budget.
The supplies are fundamental; you may already have some of the supplies in your home.
Are you ready to get started making your farmhouse decorated wine bottle?
Don’t have one? That’s OK.
You may use any flower vase, jar, soda bottle, or pretty much anything you want to repurpose.
Let’s go!
Join me to decorate wine bottles and use them for home decor!
DIY DECORATED WINE BOTTLES: FARMHOUSE
* Remember, Safety first! This post includes spray painting. So please use caution and use PPE’s [Personal Protection Equipment] when necessary!
SUPPLIES
- Empty Wine Bottles
- Black Spray Paint
- White Spray Paint
- Sandpaper Small Piece, fine grit
- Crafting Chicken Wire
- Wire Cutters
- *Face Mask
- *Gloves
Steps 1-4
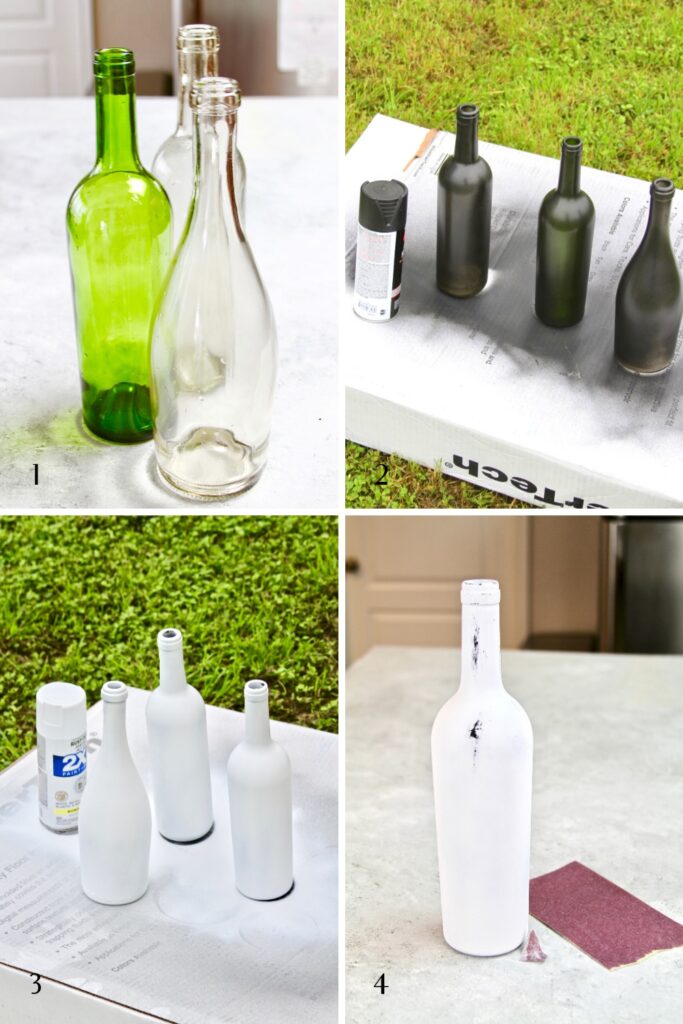
STEP 1: Gather all of your supplies. Remove the wine bottle labels.
Remove the labels by soaking them in a sink with hot soapy water for 10 minutes. If the labels are stubborn, repeat for another 10 minutes. Clean inside and outside and let dry completely.
STEP 2: Paint the wine bottles using black spray paint. One layer is all you need. This layer will be your undercoat layer. Let it dry for about 20 minutes.
STEP 3: Now, add two layers of paint onto the wine bottles with the white spray paint. Set aside to dry for about 20 minutes.
STEP 4: Distress the paint to give it an aged look.
Once the paint is completely dry, cut off a small piece of fine sandpaper. Then, lightly sand the paint in random areas of your wine bottle using soft strokes to reveal the black undercoat.
Don’t worry if you over-sand a spot where the glass is exposed. The next step will fix it.
STEP 5-8
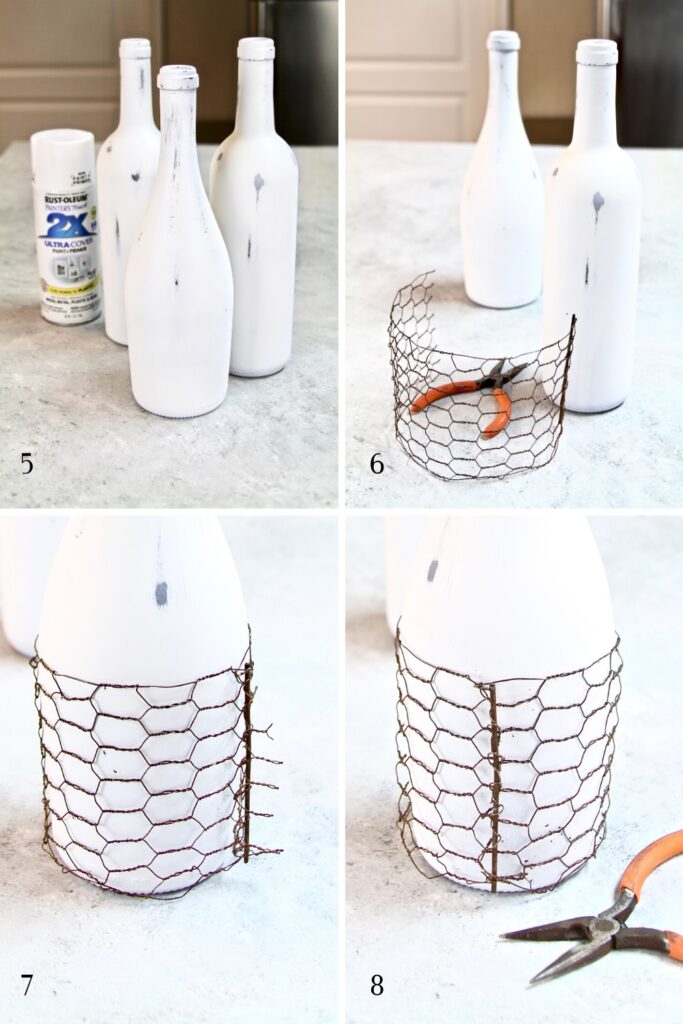
STEP 5: After aging your bottle, Lightly paint your wine bottles with one more layer of white spray paint to soften up the sanded spots. Set aside to dry.
STEP 6: Now that the paint is dry, let’s add our chicken wire. Cut a piece of the chicken wire using your wire cutters.
Determine the length of chicken wire needed by wrapping the wire around the wine bottle for the correct size and adding 1 inch.
STEP 7: With the chicken wire already sized to fit, wrap the wire around the wine bottle toward the bottom of the bottle. Attach the ends of the wire and secure them together, shown in image #7.
STEP 8: This is what it will look like once the ends of the chicken wire are merged and secured, shown in image #8.
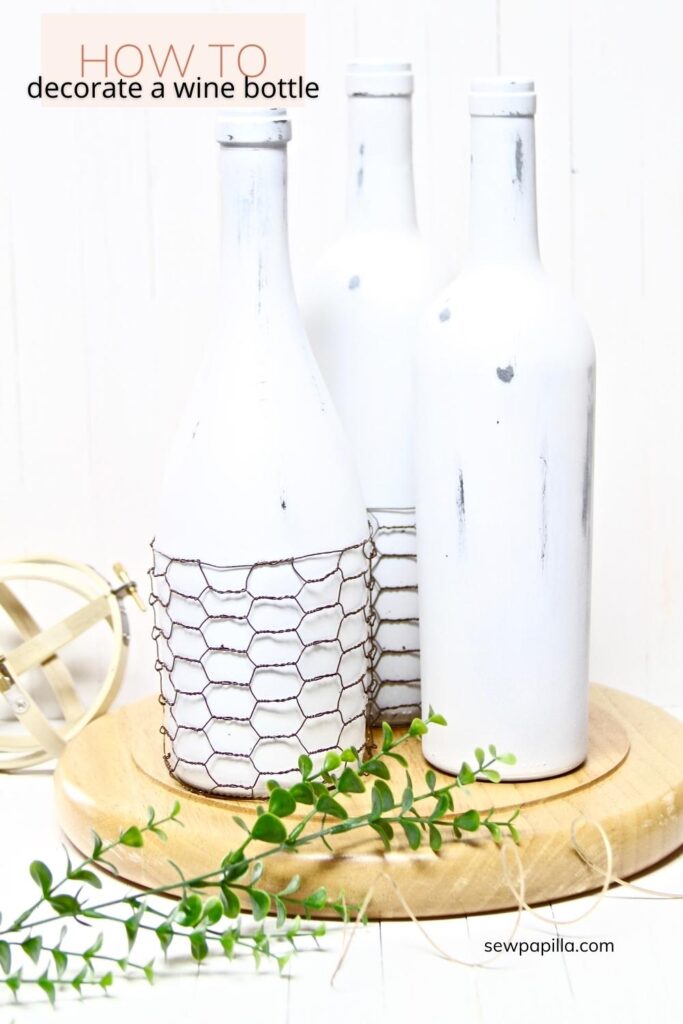
That’s it; You’re done!
Wasn’t that easy?
Doesn’t it look charming?
TAKEAWAY
To sum it up, repurposing wine bottles into a piece of home decor was great on my budget!
Besides waiting on the paint to dry, this project was quick and simple to make. I love how the aged farmhouse-style wine bottles came out.
They came out exactly how I wanted! And, I can use them for home decor anywhere in my home. Win, win!
What do you think? If you like this farmhouse-style wine bottle idea, you may also like my other decorated wine bottles also.
What is your favorite wine bottle decorating idea?
I’d love to hear your thoughts in the comments below. Please, don’t forget to share this post, Pin it, and tag a photo to #sewpapilla on Instagram. I’d love to see your results!
