MAKE REUSABLE CLOTH FACE WIPES
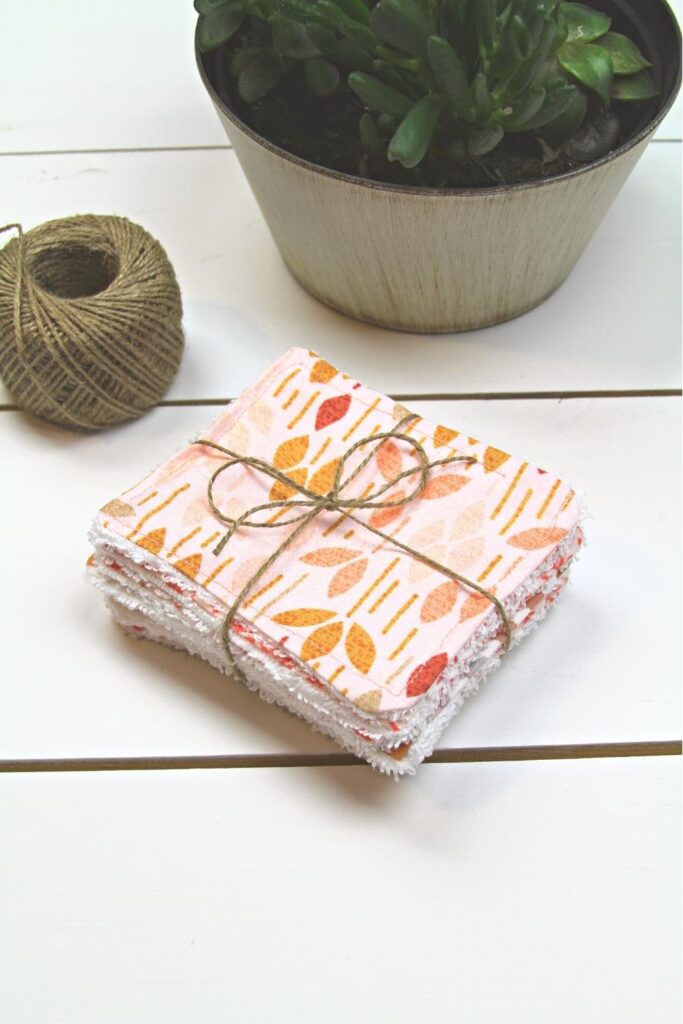
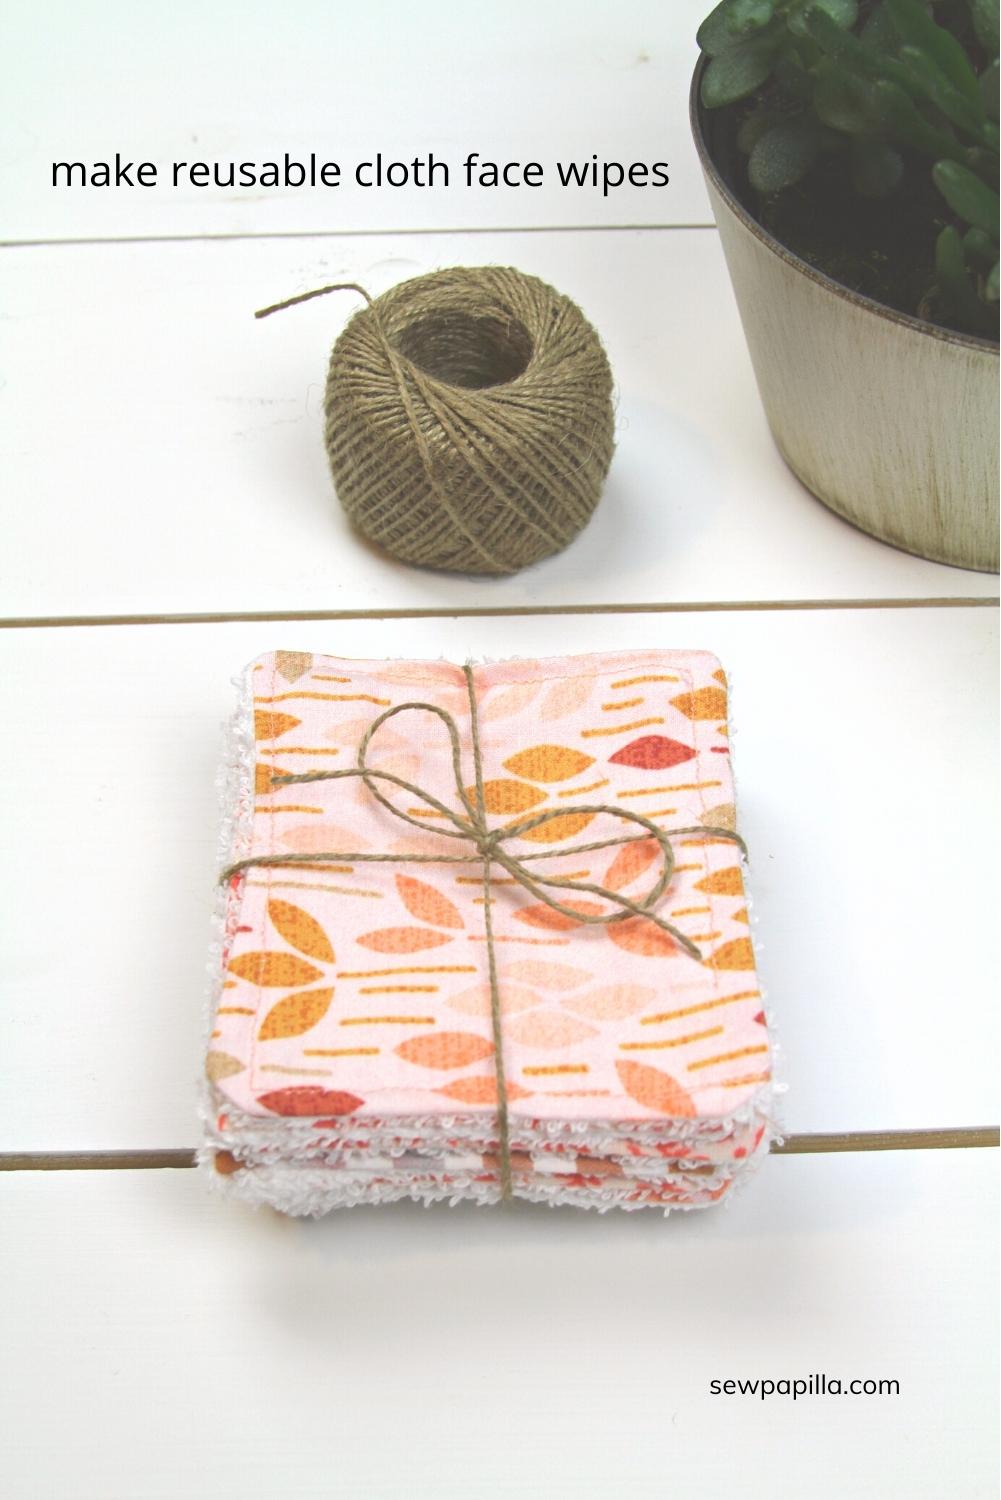
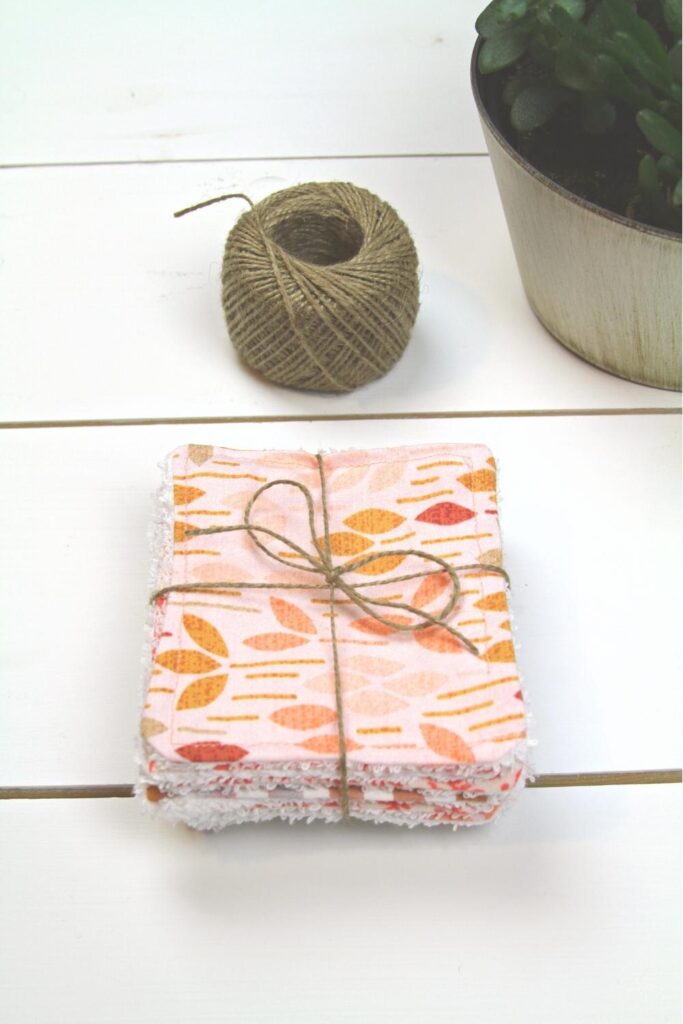
Make reusable cloth face wipes, and go green! You can make one, two, or make enough for the whole week.
I love the face wipes that I made, and they were easy to sew in no time at all and beginner-friendly. I can reuse my cloth face wipes over and over as well as save my pennies!
It’s all up to you; you can make circular face wipes, squares ones, large or small ones. Style them with colorful fabrics or natural fiber linens with old washcloths you have laying around or not. I used extra terry washcloths that I’ve had for a while but never used.
Use the face wipes to wash your face daily, use them as makeup remover pads, or powder your nose for when you are on the go.
Additionally, you can make a handful of face wipes and gift them to your family and friends. They would be perfect for stocking stuffers, too!
HOW TO MAKE REUSABLE CLOTH FACE WIPES
In this tutorial, I will show you how I made my reusable face wipes. I chose to make mine with pretty fabric on one side and a terry washcloth for the wash side.
However, you can choose to do the same or make both sides of the wipes with the wash material of your liking.
This project can also be hand-sewn; however, I will sew with a sewing machine.
Without further ado, let get started!
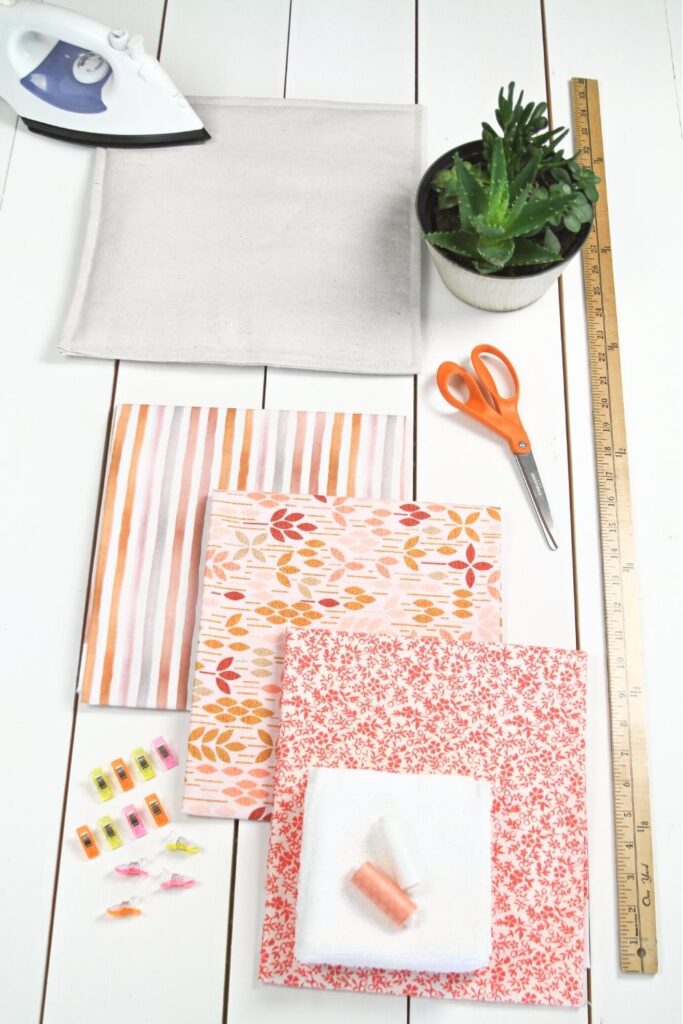
SUPPLIES
Remember that the measurements for your reusable face wipes may differ.
Also, if you decide to reuse or purchase a new washcloth, they may have a size difference. The supply list below is for four small-sized cloth face wipes.
My finished results for the wipes are approximately 5 in. X 5 in. or 12.7 cm X 12.7.
- Pattern if you prefer to use one
- 1 washcloth with the edges trimmed off for the wash side [mine was 11 in. X 11 in.]
- 1 piece of fabric or reused material sized to fit the topside of the washcloth.
- contrasting thread to match the top of your face wipe
- Bobbin; contrasting thread to match the wash side of the face wipe
- sewing pins or clips
- fabric scissors
- ruler; in case you prefer to measure the size of your face wipe
- iron and ironing pad
- sewing machine

HOW TO PREP THE FABRIC
Now that you have your style planned out and your supplies pulled together for your face wipes, you need to prep your fabric before you begin.
If your fabric is repurposed, you should be good to go at this point.
However; if you are using new fabric and washcloths, you must wash them first.
Depending on the colors and material of the fabric you have chosen, wash them according to the detergent instructions.
I used cotton fabric for the top side of my face wipes for mine. Together, I washed the washcloth and fabric in warm water with detergent and dried them on a regular cycle in the drier. Then I pressed the fabric to get any wrinkles outs.
STEPS 1-4: MAKE REUSABLE CLOTH FACE WIPES
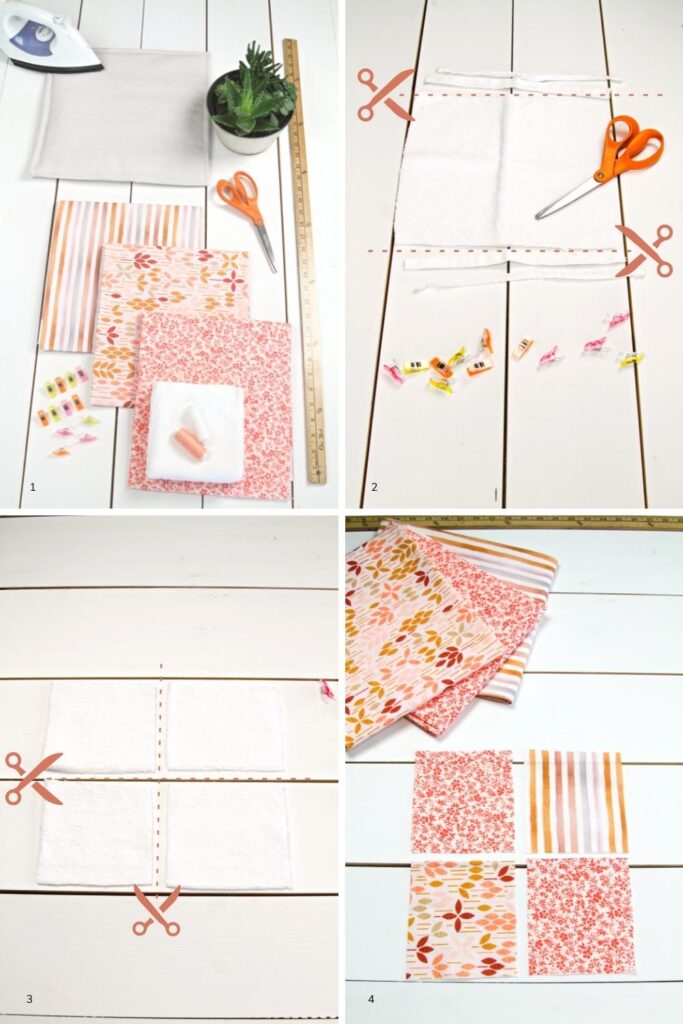
1. Prep your fabric and washcloth, and gather the supplies. If you downloaded the pattern, cut the pattern out.
Prep your sewing machine and bobbin with the contracting thread of your choice. Keep in mind that the colors of your thread at this point will not show. We are simply getting ready ahead of time. The contrasting thread color will matter when we finish the final results.
2. Neatly, remove the trim from the edges of the washcloth. After you remove the trim, you may want to measure your square to ensure the washcloth has the same dimensions for each corner. After I cut mine, the dimensions were 11 X 11. Try to shoot for a 1:1 ratio.
3. Cut the square washcloth into 4 squares. There are two ways you can choose to cut them.
The first way you can cut your square is by marking it with a fabric marker and ruler. The second way is how I did mine. Fold the square in half horizontally and press the seam so that the center has a seam crease when you unfold it.
Then, repeat the same step vertically. When you’re done you will have creases visible in the shape of a cross. The creases will be your cutting line.
4. Cut four squares the same size as your washcloth squares. Repeat the cutting tips from step three for your top printed fabric, or the fabric you chose for your project.
STEPS 5-8: MAKE REUSABLE CLOTH FACE WIPES

5. Put your washcloth squares in a single file on your work surface. Then, place the top fabric on top of the washcloth squares with the pattern or printed side face down. Ensure the corners are lined up evenly on all sides.
6. Pin or clip your squares to hold the pieces together to keep them in place.
7. Now, sew a straight stitch on all the edges of your face wipe with a seam allowance of 1/4 in. or 0.635 cm. On one edge, leave a 2 in. or a 5.08 cm. opening to allow space to turn it inside out to ensure your seams won’t rip apart.
Use a backstitch on each side of the opening to keep it secure when flipping inside out.
8. Trim each corner and edge while staying away from the seam, except for the opening edge, as shown below. Clipping the corners will give you sharp-looking corners when flipping inside out.
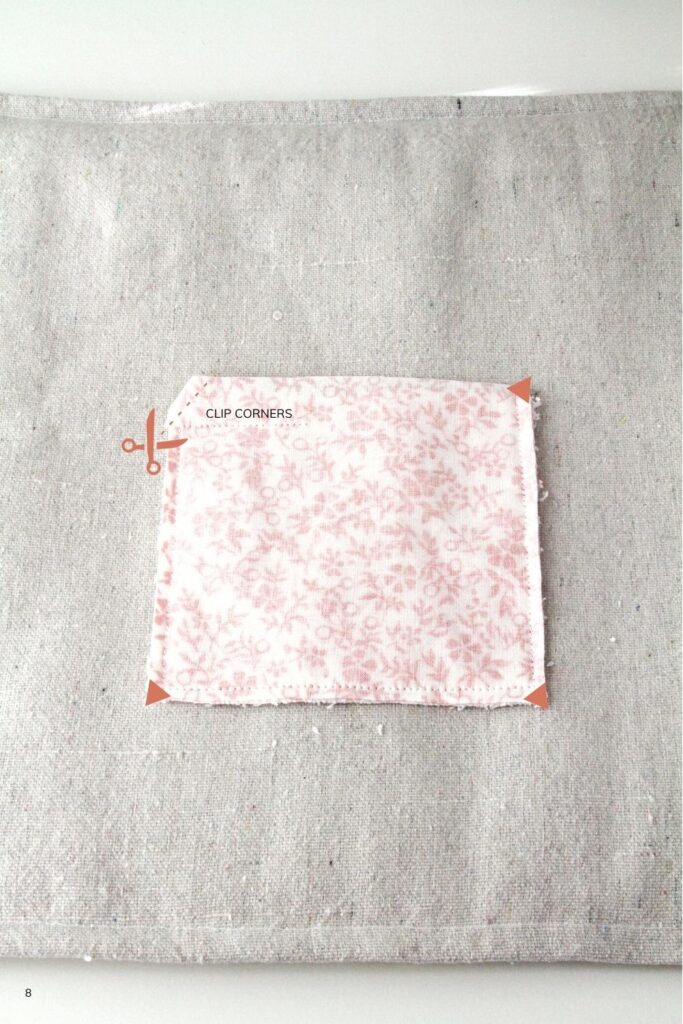
STEPS 9-10: MAKE REUSABLE CLOTH FACE WIPES
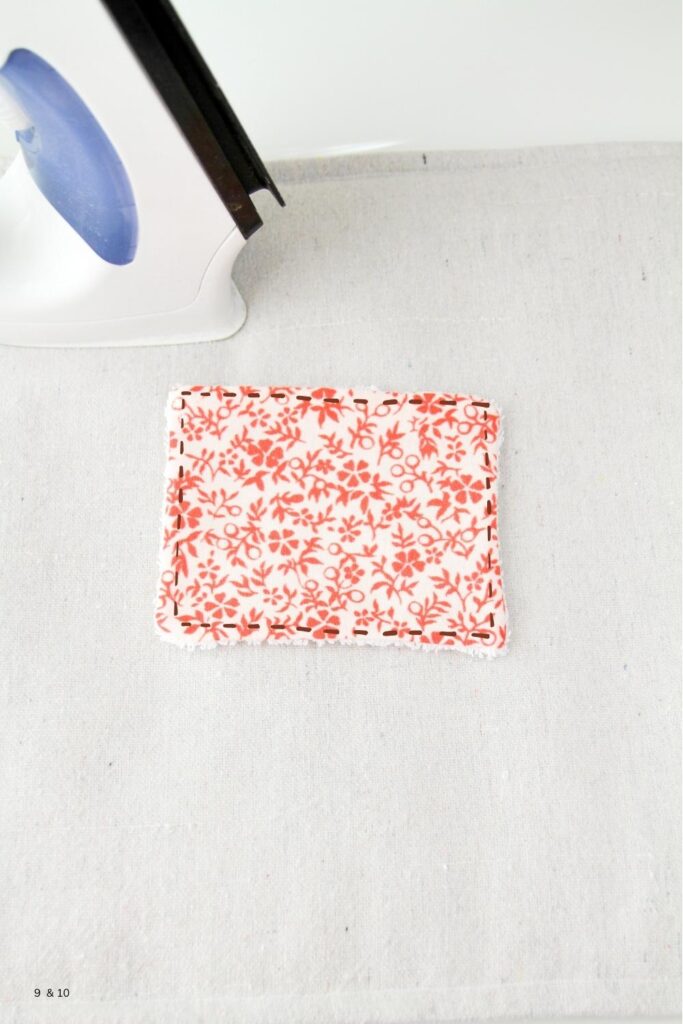
9. Flip the cloth face wipe inside out. From the inside of the wipe, poke the corners through with your finger for sharper corners. Then, tuck the opening edge inside the face wipe, and press with a warm iron.
10. Last, but not least; finish your reusable cloth face wipe by sewing along the edge shown above. Press again and you’re done!
HOW DO I WASH MY FACE WIPES?
You can wash your face wipes with your normal wash. I wash mine together with my light color wash. If I have stubborn stains from using my face wipes for makeup remover; I treat them with stain remover then pop them in with my wash. Dry them on normal heat in the dryer and press them afterward, or not.
If you have sensitive skin, you may choose to wash them separately or by hand with gentle detergent.
TAKEAWAY
I hope you enjoyed making these reusable cloth face wipes as much as I did. They come in so handy and I don’t have to spend extra pennies on makeup removers any longer.
The best part of making these wipes is they were so easy and quick to make. And, it’s the perfect project if you are a beginner sewist. Plus, they look pretty cute and stylish too!
If you decide to make this sewing project, I’d love to see your results. Tag me at #sewpapilla over on Instagram! Don’t forget to share, pin, and leave a comment to let me know your thoughts on this fun project.
Keep a lookout for more projects to come, see you next time!
