HOW TO MAKE AN ENVELOPE PILLOW COVER
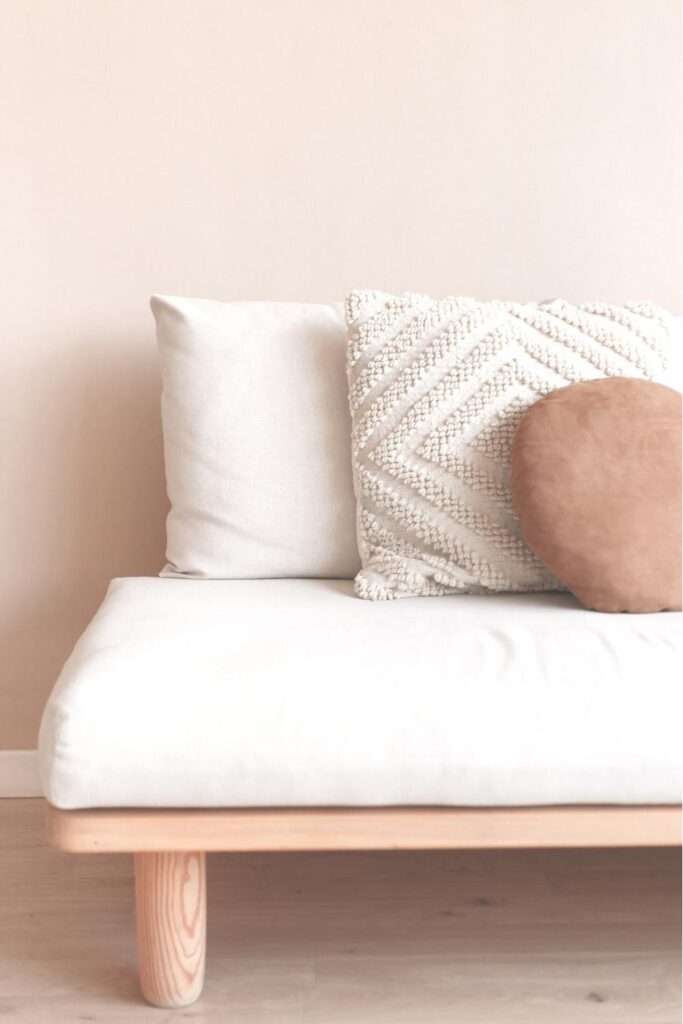
Make this super easy envelope pillow cover to add coziness to your space! This sewing project is beginner-friendly if you’re new to sewing.
You’re in luck; this tutorial; I will happily share with you step by step how to make an envelope pillow cover with clean and crisp lines.
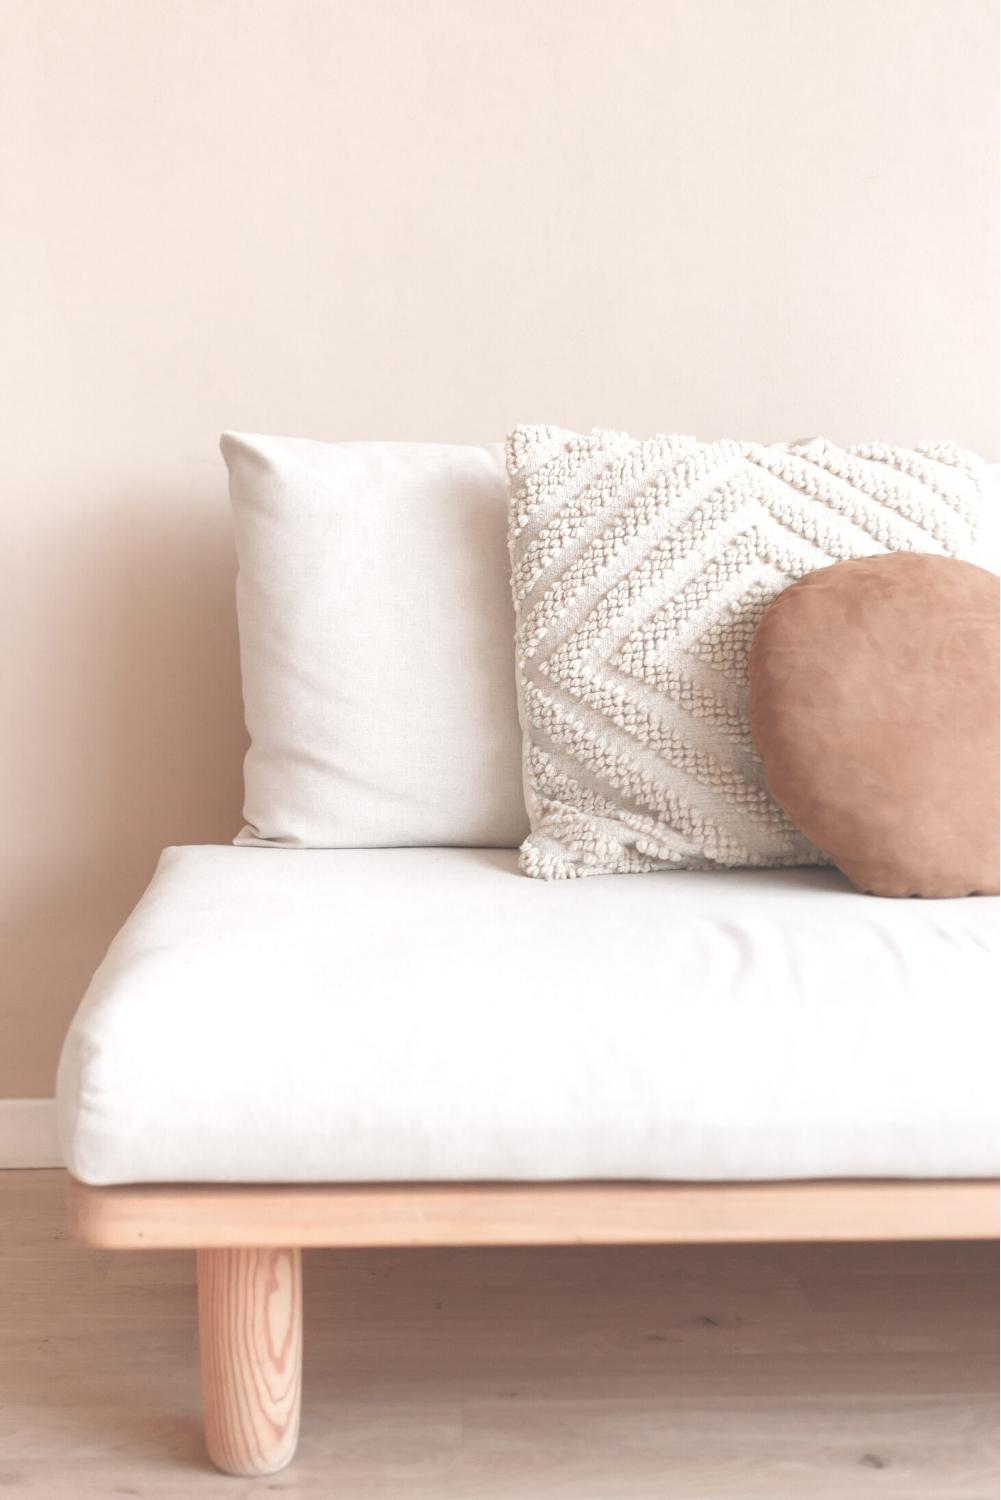
Envelope Pillow covers are a quick and straightforward way to update your space and change any room’s look. And, making and customizing your pillow is so budget-friendly and easy to make!
There are several different ways to make an envelope pillow, but today I’m going to show you how I made this one. I’ve kept the fabric very simple for this project, so there are no distracting prints to confuse you when you are following along.
Honestly, though, I love the fabric I’m using for this tutorial. I love it so much that I have many tutorials using this fabric. This fabric is a painter’s drop cloth.
I know, I can’t believe it either!
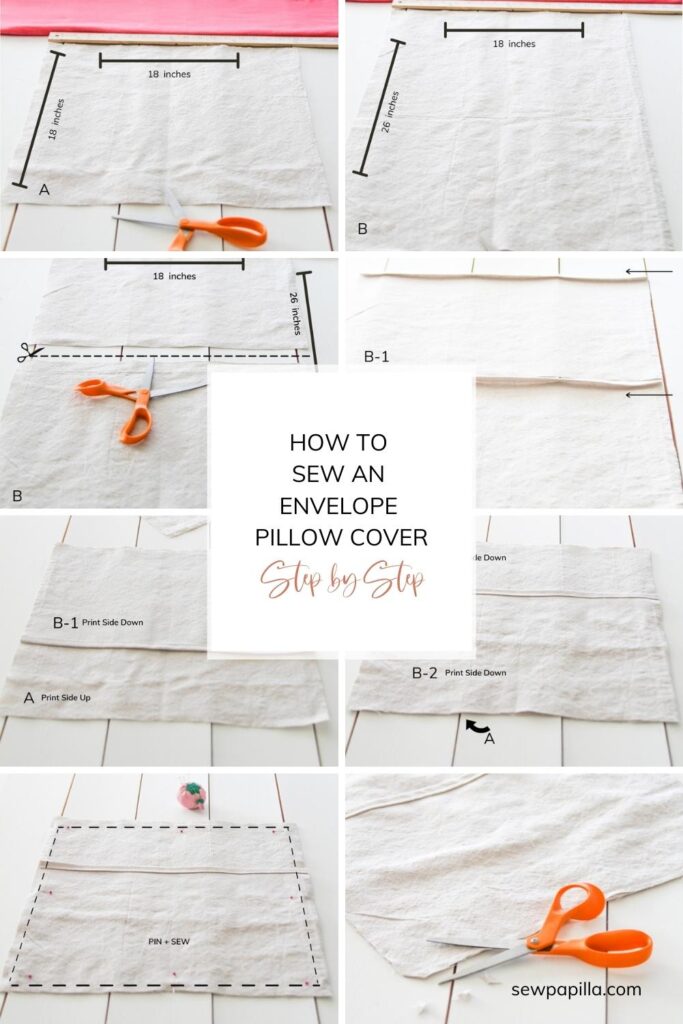
Painters drop cloth is so inexpensive, durable, and quite beautiful. It’s made out of cotton and is completely natural.
Using this fabric allows me to leave it as is, add embellishments, or paint it using stencils to customize it to any look I want. The possibilities are endless! 🙂
Anyways, friend, gather your supplies, and let’s get started!
SUPPLIES
This pillow cover fits one 16 X 16-inch to an 18 X 18-inch pillow. You can also change up the measurements to customize for any size.
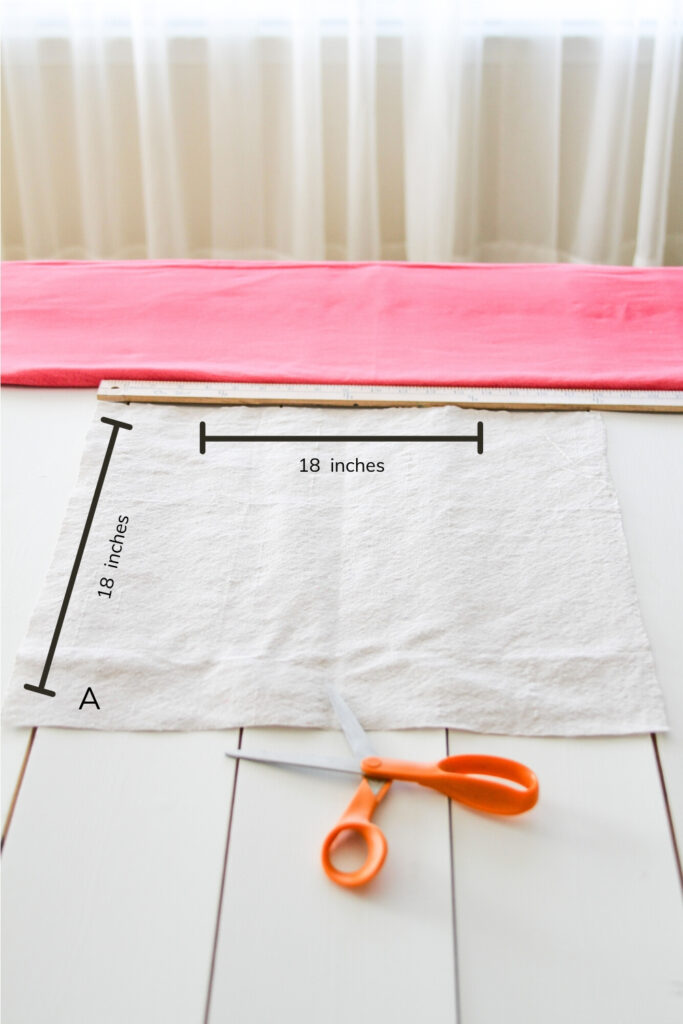
- A = Front Cover, one 18 X 18-inch piece of fabric
- B = Back Cover, one 18 X 26-inch piece of fabric
- Matching Thread
- Sewing pins
- Measuring tape
- Sewing Machine
- Iron
- Ironing Board
HOW TO MAKE AN ENVELOPE PILLOW COVER
STEP 1
First things, first! Wash your fabric before sewing your envelope pillow cover. Washing is to ensure all of the shrinkages of your material are out of the way.
Trust me; I did that years ago when I was a beginner! I sewed the cutest outfit for myself and then washed it.
Then it shrunk! It ended up being a cute outfit for my daughter! It wasn’t a complete waste, but you get the idea.
Now that the fabric is washed and dried cut out one 18 X 18-inch piece of fabric. This piece is the front of the pillow cover labeled “A. “
STEP 2
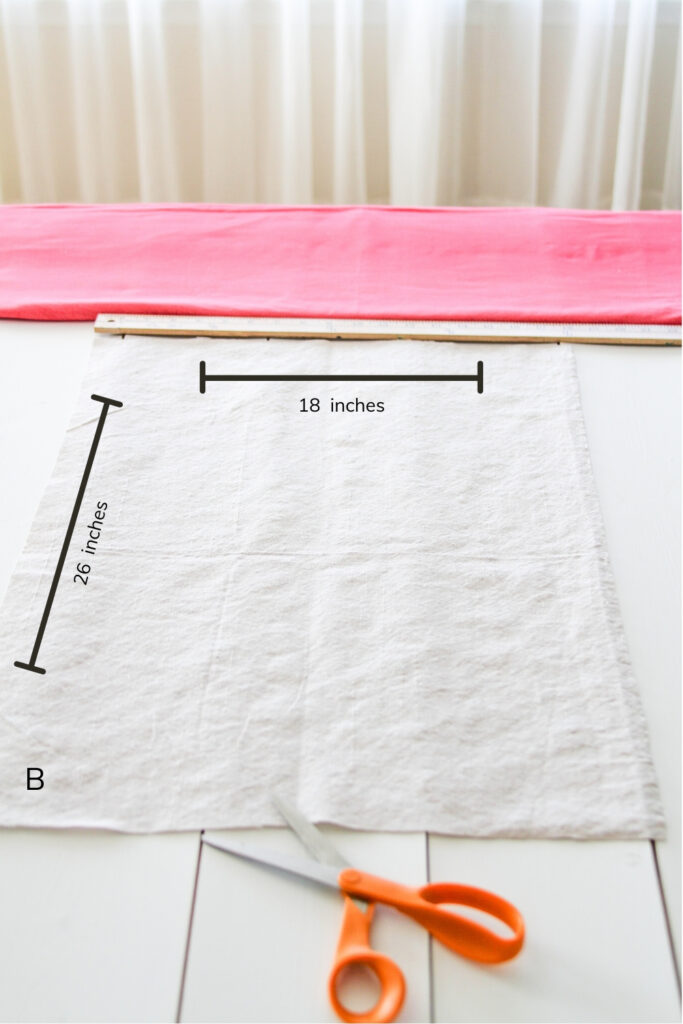
Now, Cut out one 18 X 26-inch piece of fabric. This piece is the back of the envelope pillow cover labeled “B. “
STEP 3
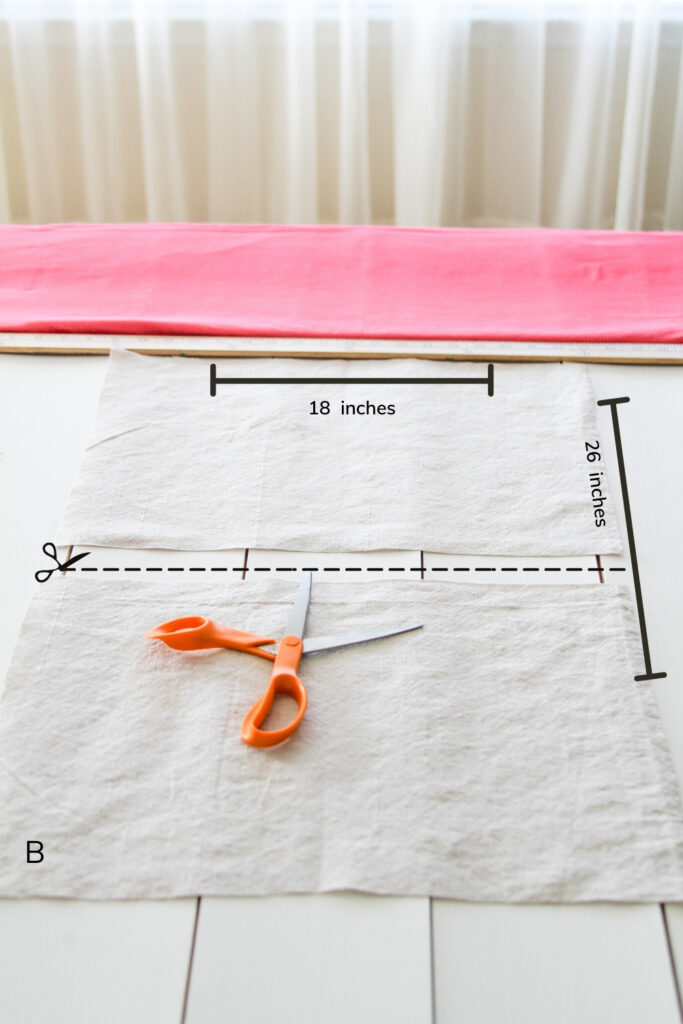
Cut piece “B” [18 X 26 ] in half, in the center. You will now have two pieces, which are now labeled B1 and B2.
STEP 4
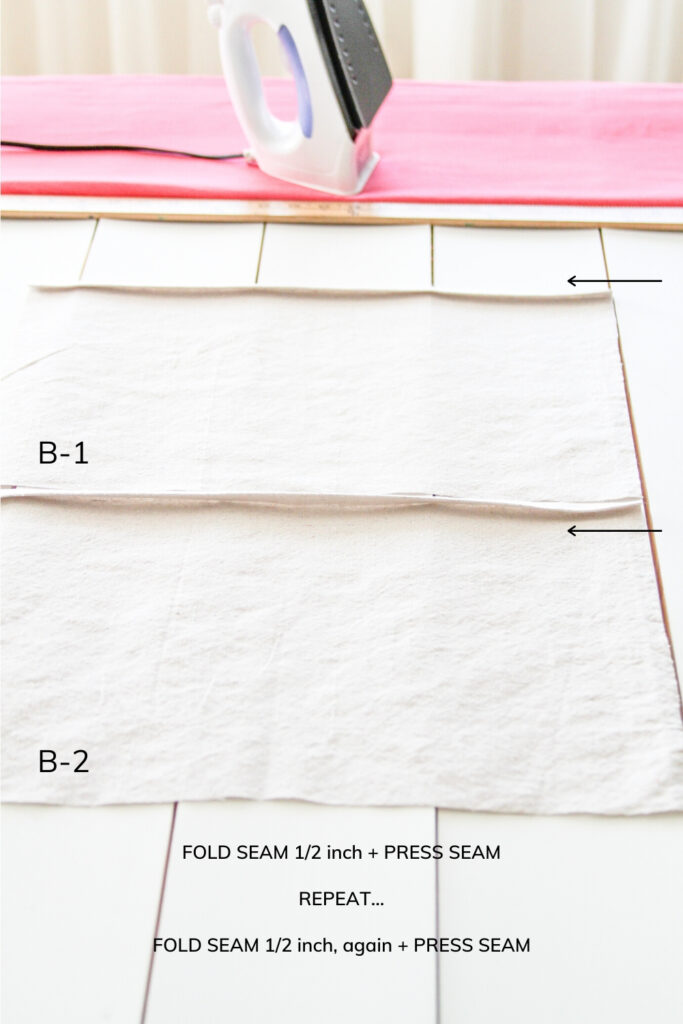
If you have a print to your fabric, ensure that the print side is facing down. For B1 and B2, fold the top edge of the seam down a 1/2 inch, then press with a warm iron.
Repeat this step, fold over again, and press.
STEP 5
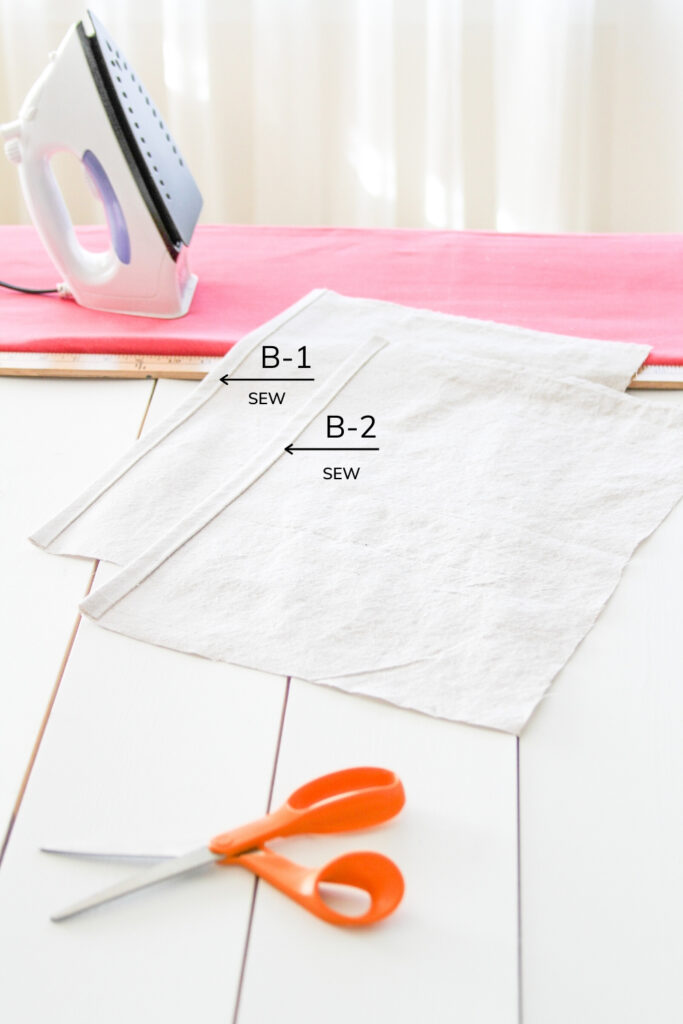
After B1 and B2 seams are folded over and pressed, sew along the bottom of the fold, shown above.
STEP 6
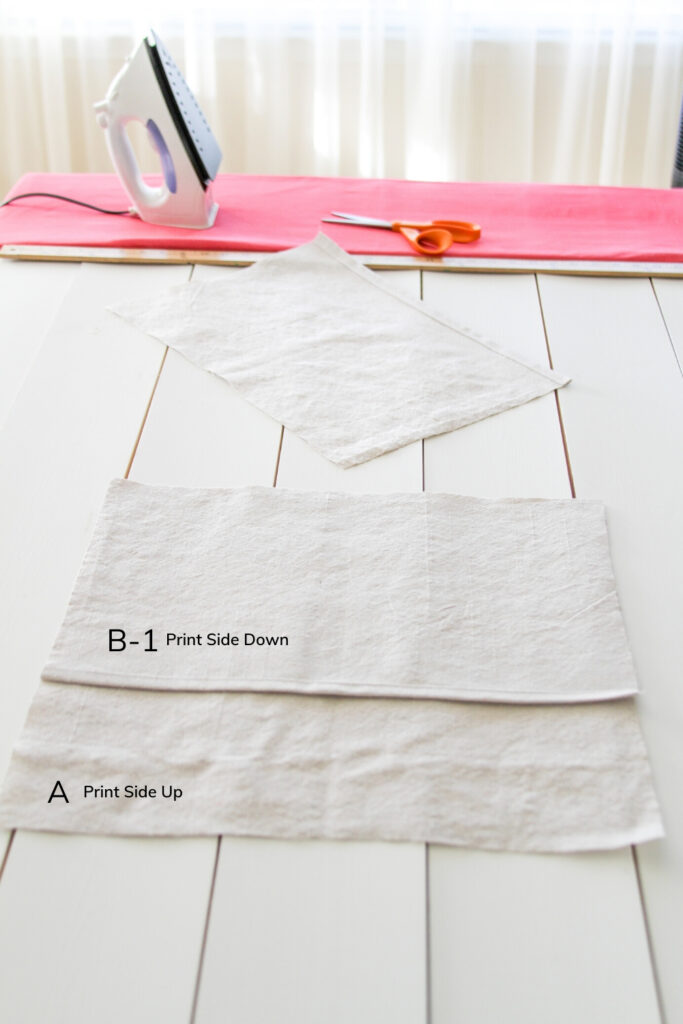
At this point, it’s time to assemble the envelope pillow cover pieces.
Position the front cover “A” piece of fabric onto your surface.
If you are using a printed fabric for “A, “place the material with the print-side up.
Position the back cover B1 piece on top of the “A” piece with the raw seam edges together.
If you are using a printed fabric, the B1 print is face down.
The Piece “A” will overlap B1 by several inches. That’s OK! You’re on the right track!
STEP 7
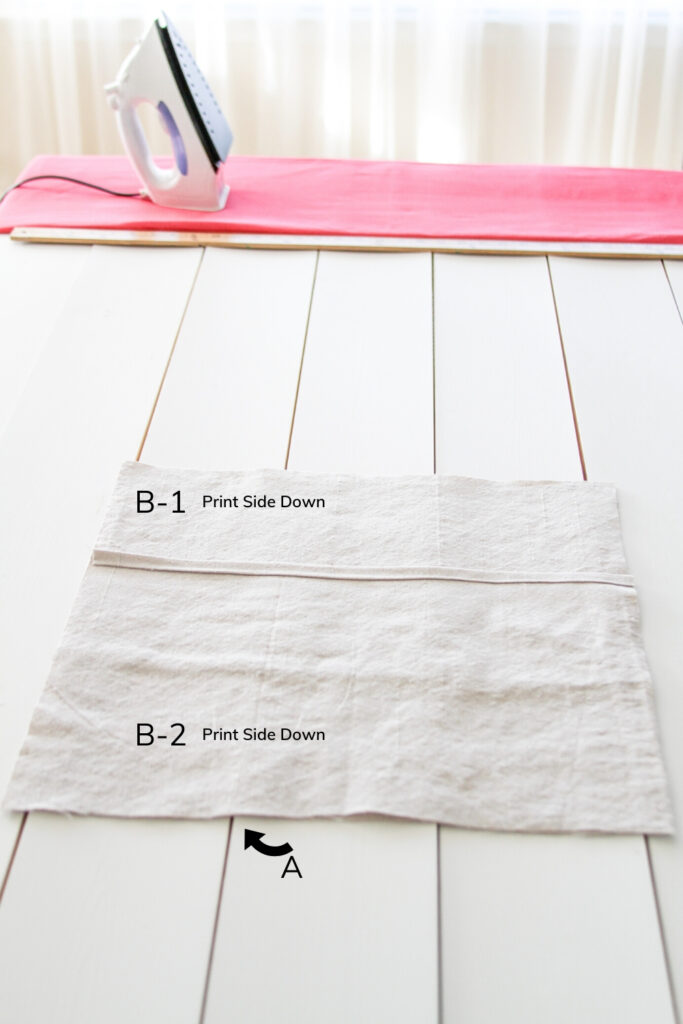
Now, Position the back cover B2 over “A” and B1, shown above, matching the raw seam edges of “A” and B2. The B2 piece of fabric is printed side down.
STEP 8
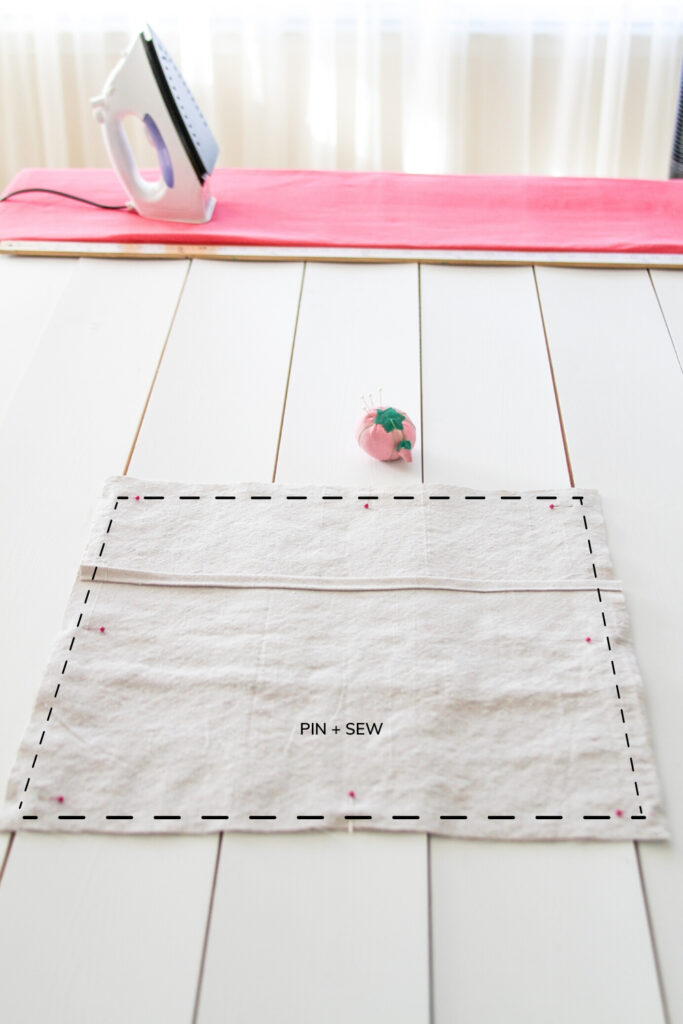
If you assembled the pieces correctly, the above picture is what it should look like.
Great job; you’re almost done!
Pin the layers of fabric together to ensure they stay in place while you sew them together.
STEP 9
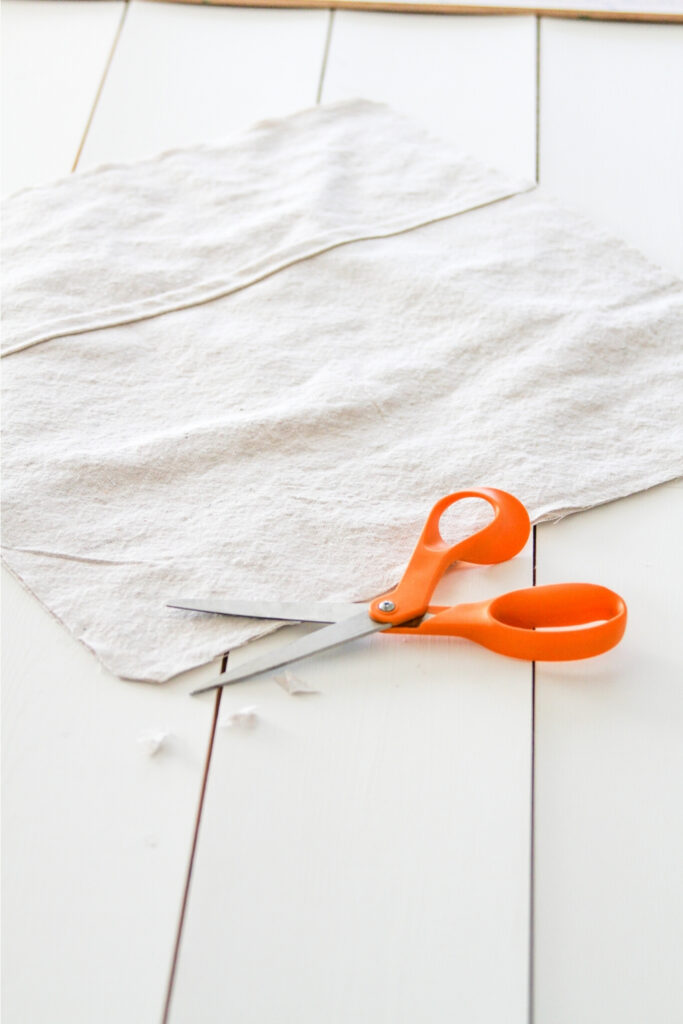
Sew around the edge of the whole pillow, about 5/8 inch from the edge. Then, clip each pointed corner, careful not to cut the stitches just sewn. Clipping each corner will give your pillow cover an excellent point once you turn it inside out.
STEP 10
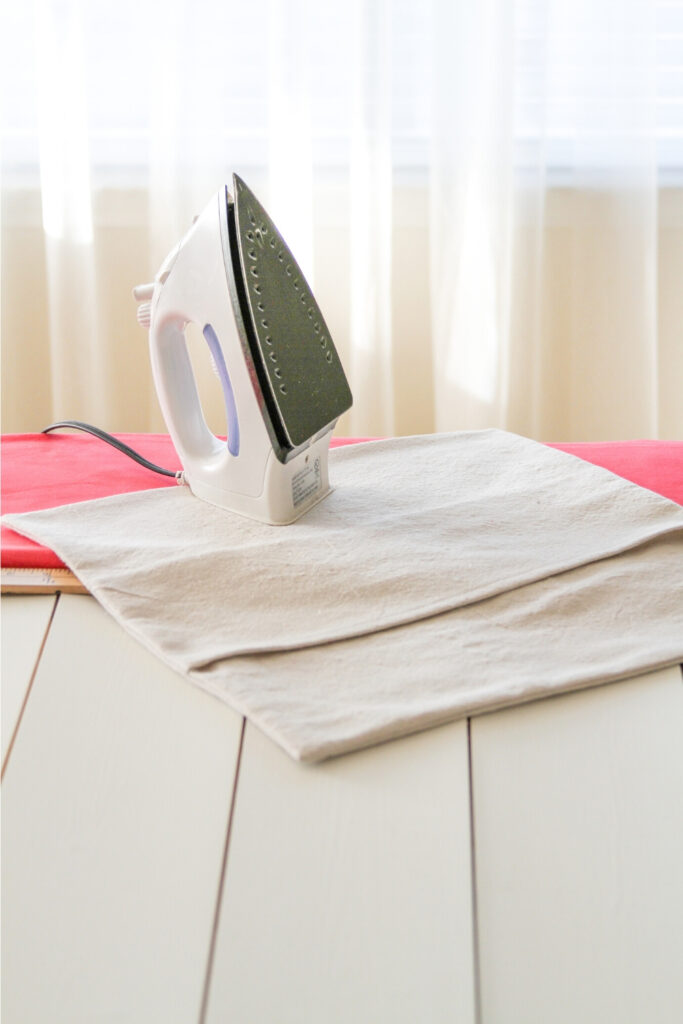
Last but not least, turn your envelope pillow cover inside out. Then, poke your finger into each corner of the pillow to straighten out the fabric to make the corners sharp-looking and professional.
Press the DIY envelope pillow cover, fill it with a pillow, and then you’re done! Easy peasy, wasn’t it?
You did it! I knew you could do it!

TAKEAWAY
To sum it up, a simple envelope pillow cover can freshen up any space and change the look of any room. If you are a beginner, you can sew your envelope pillow cover in no time at all with this step-by-step tutorial!
They are simple, quick, and budget-friendly to make. You can customize your pillow however you like!
Although this pillow cover is elementary, I love how it turned out. It’s simple with clean lines throughout!
What are your thoughts on this easy tutorial?
If you have any questions, let me know in the comments below. Also, please, be sure to share and PIN this post. So your friends and others may benefit as well!
