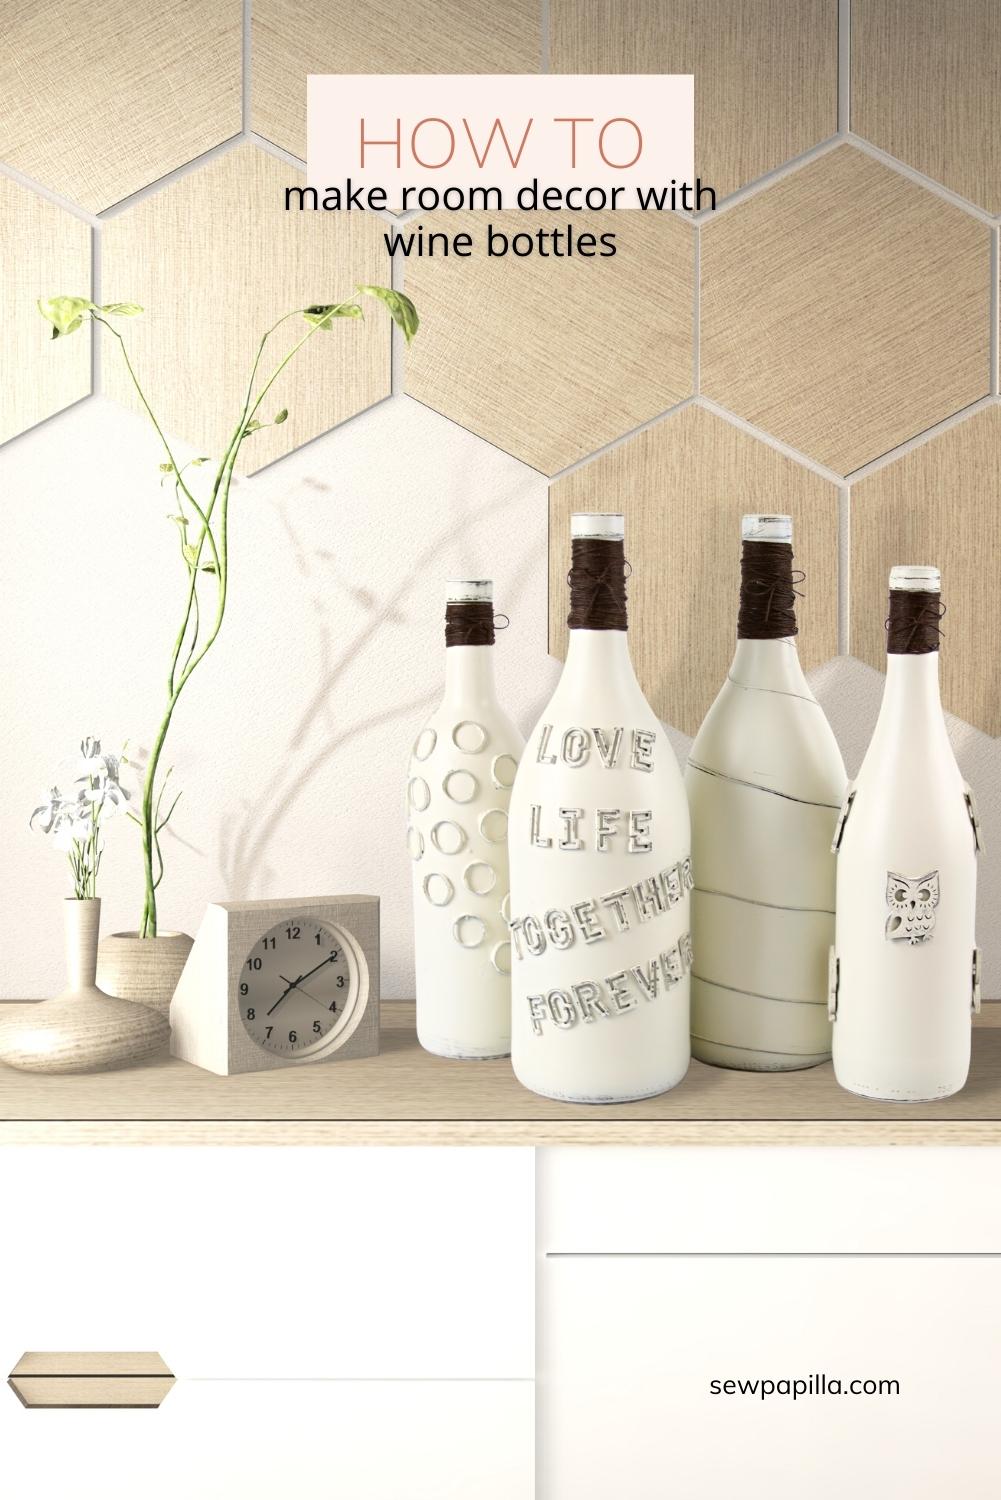
DIY DECORATED WINE BOTTLE IDEAS
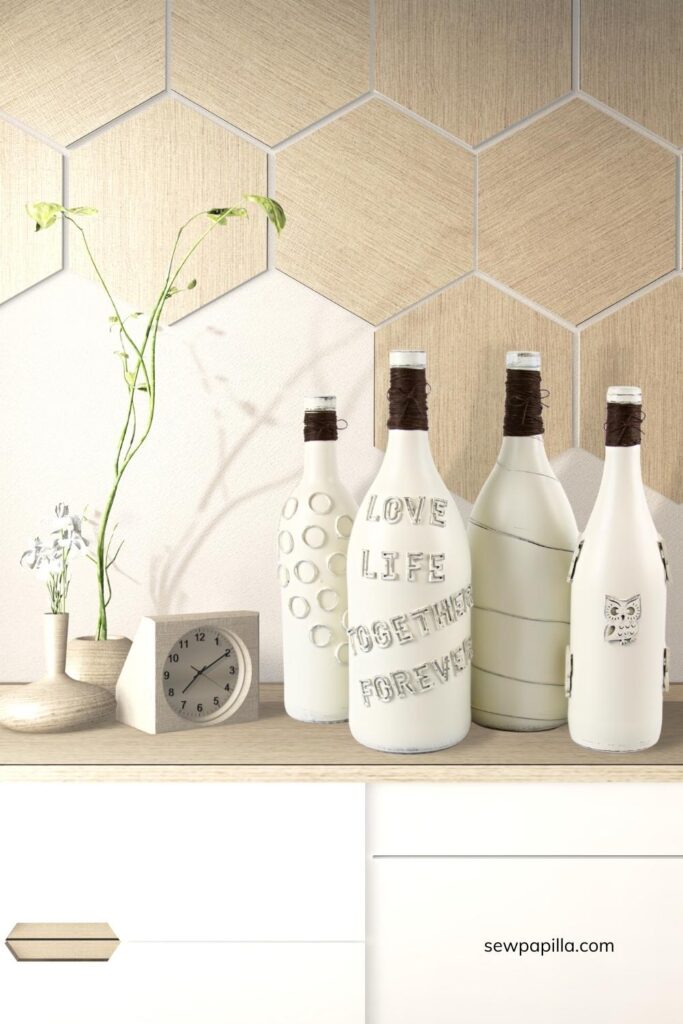
Hi Friends! There’s a craze for DIY decorated wine bottle Ideas on the internet right now, so I’m putting in my two cents.
I’m not big on drinking wine; however, members of my family are, and thanks to them, they were nice enough to save me their empty wine bottles for this fun project I’m sharing with you today.
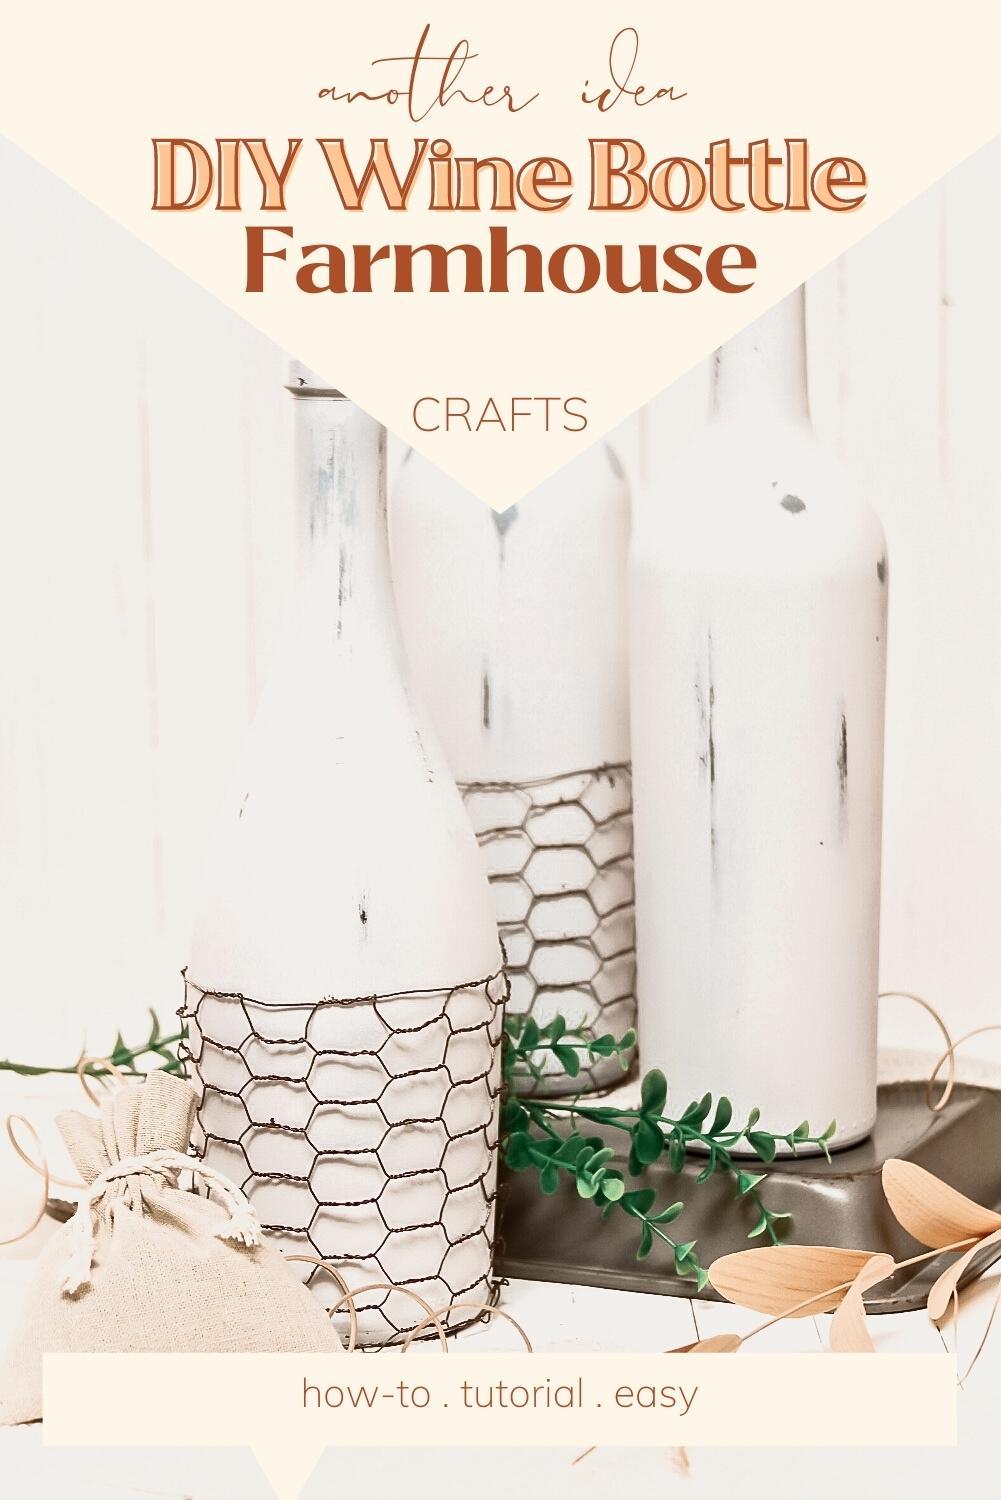
There are so many creative ways to decorate a wine bottle. I mean, the possibilities are endless!
They make for great conversation pieces too. Later on, I will be creating more styles, so keep a lookout for them here on my blog. 🙂
Without further ado, I’ll show you step by step how I got this look for today’s project.
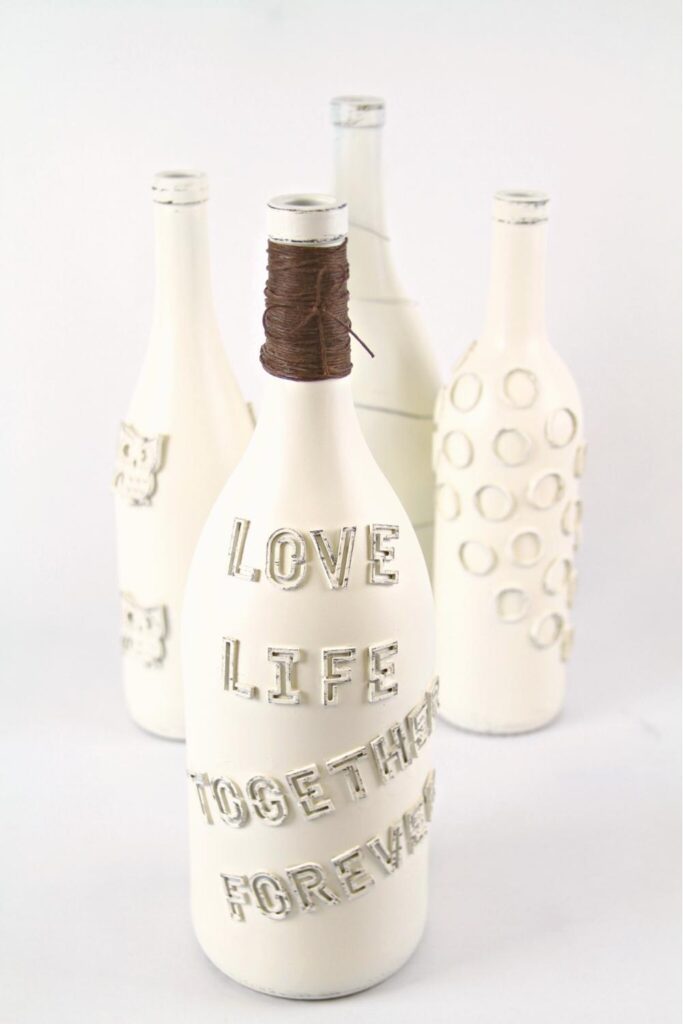
SUPPLIES
- Wine Bottle(s)
- Aleene’s Clear Tacky Glue
- Bead Wire from On A Wire
- Letter & Owls from Woodpile
- Wedding Favor Rings
- LeatherCraft Lace
- 1 can RUST-OLEUM Painters Touch Ultra Cover Spray Paint Satin Dark Walnut or Black
- 1 RUST-OLEUM Painters Touch Ultra Cover Spray Paint Satin Heirloom White
- small piece of sandpaper [any kind]
You can find these craft supplies for this project at your local craft store. I purchased mine at Hobby Lobby.
STEPs 1-4 DIY DECORATED WINE BOTTLE IDEAS
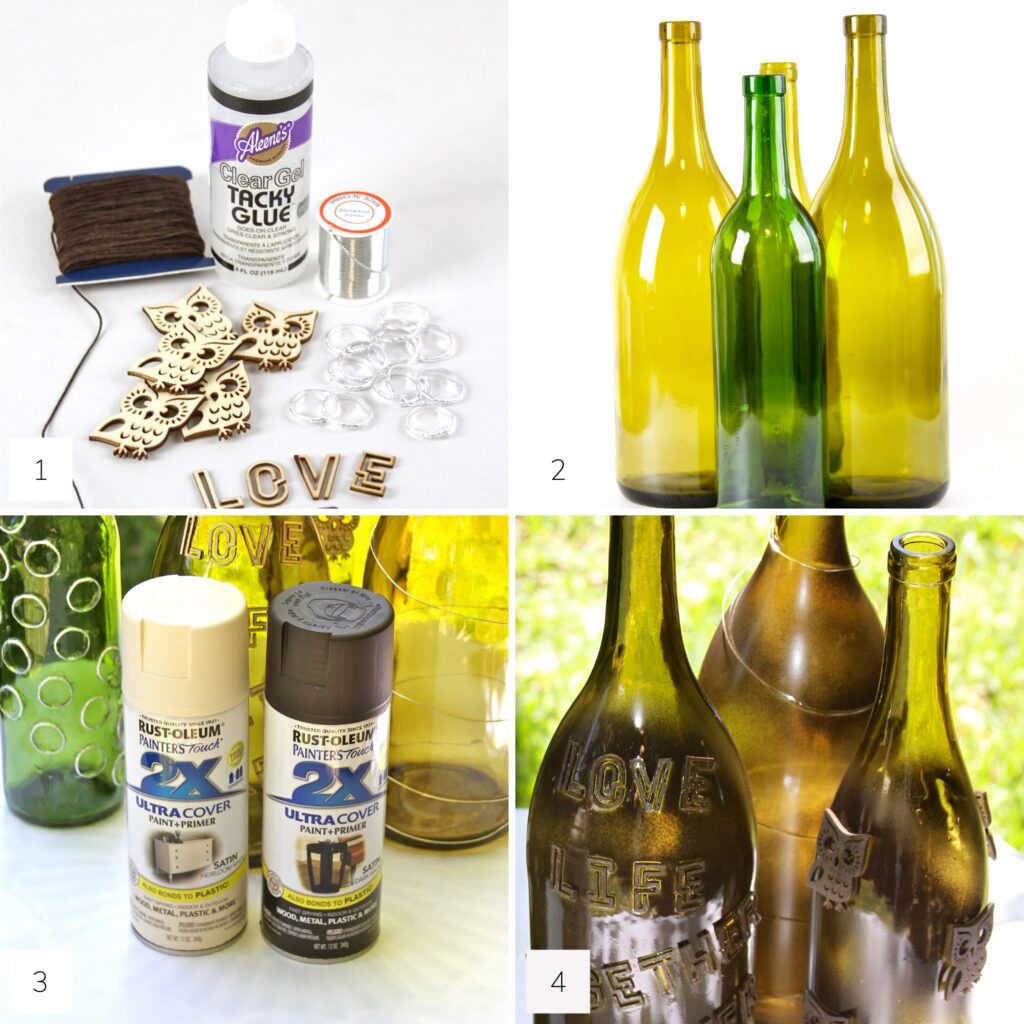
STEP 1: Gather and prep all of your supplies.
STEP 2: Clean the inside and outside of the wine bottle. Then, remove the labels.
To remove your wine bottle labels, soak them in a sink with hot soapy water for about 10 minutes. Soaking will help loosen up the glue to make it easier to wipe the labels right off. If you have a stubborn label, soak a little longer and use a scrub pad. Set bottles aside to let them dry thoroughly.
STEP 3: It’s time to get creative. Decorate your wine bottle with:
Aleene’s Clear Tacky Glue
Bead Wire from On A Wire
Letter & Owls from Woodpile
Wedding Favor Rings
Add Aleene’s Tacky glue to your Woodpile crafts, rings, or Bead wire, and stick them to the wine bottle, and let it dry completely. Add more glue if you have a piece that is a little stubborn.
STEP 5-8 DECORATED WINE BOTTLE IDEAS
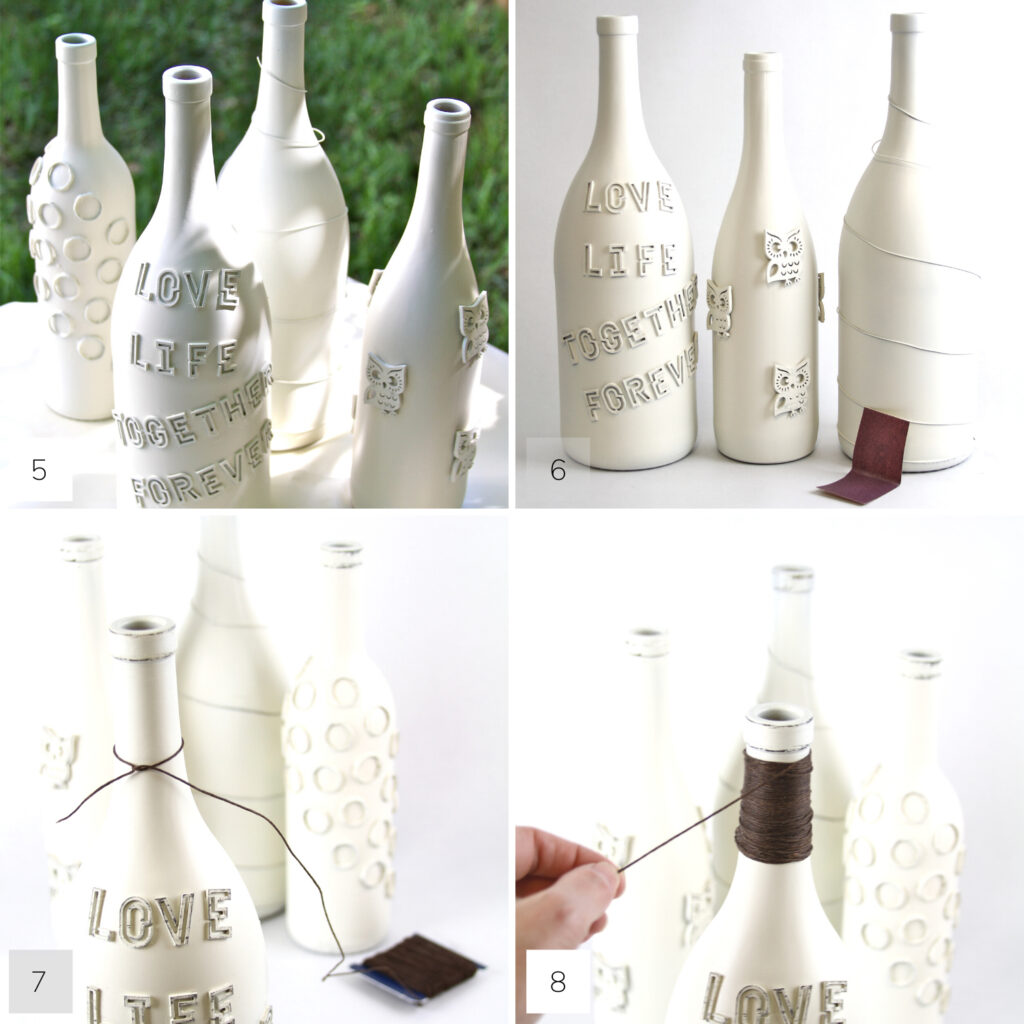
Since the color of the decorations is natural and lightly toned, it’s almost impossible to get dramatic results; this is why I added Step 5.
STEP 5: Apply one coat of paint to the wine bottle and decorations with RUST-OLEUM Painters Touch Ultra Cover Spray Paint Satin Dark Walnut or Black, and let it dry. [about 20 minutes]
Then paint again using the RUST-OLEUM Painters Touch Ultra Cover Spray Paint Satin Heirloom White and dry. [another 20 minutes] I applied three coats of the Heirloom White.
STEP 6: Using your sandpaper piece, gently sand parts of the wine bottle and decorations to give it a distressed look. After distressing the paint, the dark color underneath will be exposed to add a bit of pop to your distressed look.
STEP 7: Tie one end of the leathercraft lace around the top of the wine bottle and secure it with several knots.
STEP 8: Hold and Wind the leathercraft lace around multiple times until you get your desired results.
STEPs 9-10 DIY WINE BOTTLE IDEAS

STEP 9 & 10: Secure the leathercraft lace by tying several knots, and lastly, tie a cute little bow.
That’s it; now you’re done!
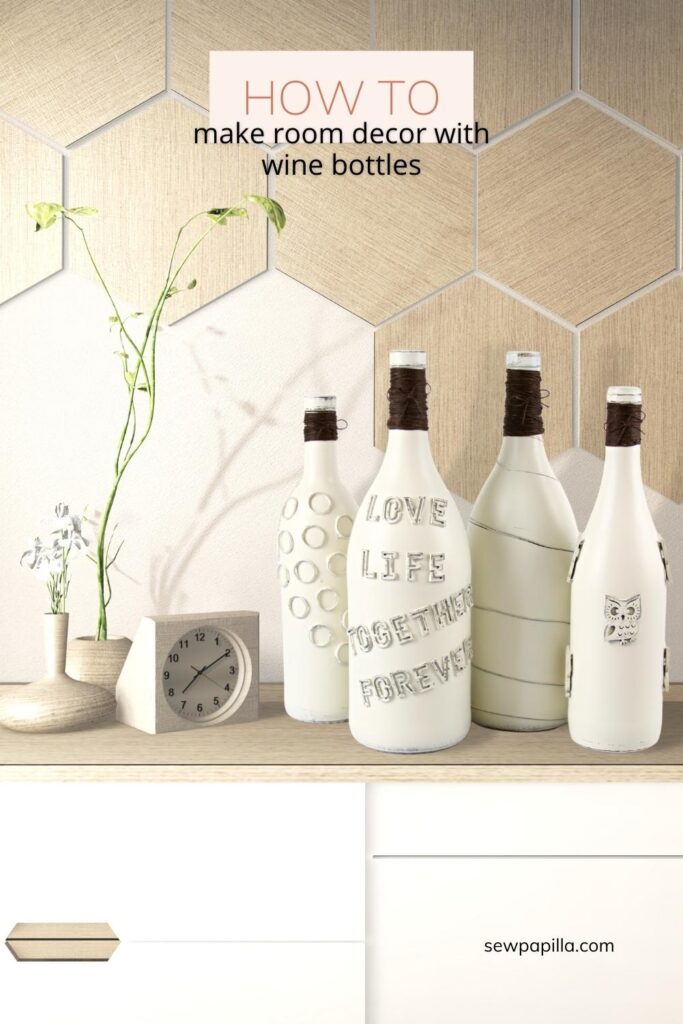
My decorated wine bottles turned out super cute! Don’t you think?
Yes, it may have been a little time-consuming, but well worth it! They are so pretty, and I love looking at them. 🙂 I can’t wait to make more.
As I’ve mentioned before, I’ll be making more in the future, so keep a lookout.
If you haven’t signed up to receive Sewpapilla updates, be sure to do so. That way, I can notify you of future wine bottle decorating ideas I post here on my blog. Sign up here, so you won’t miss a thing!
Or you can fill out this form below.
TAKEAWAY
On an end note, styling wine bottles is fun, and the creative possibilities are endless.
I’ll be styling more decorated wine bottles in the future, so make sure you keep checking back.
Do you have DIY decorated wine bottle ideas you’d like to share?
Let me know your thoughts in the comments below. Also, I’d love it if you shared this project with others who may benefit from this project. Thank you so much!
