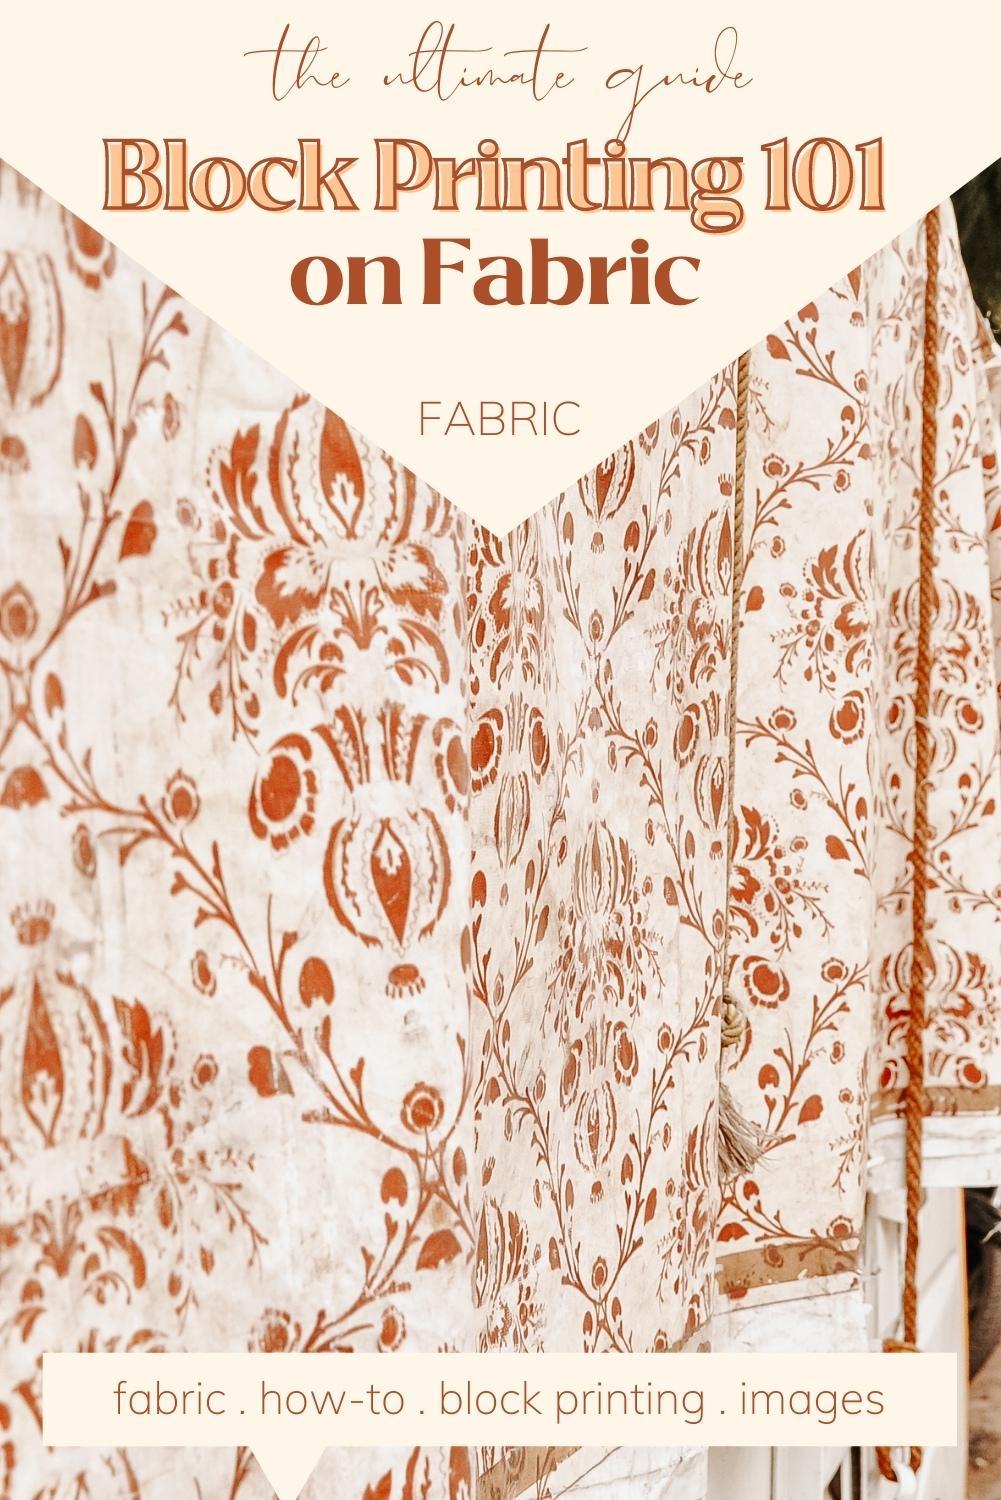
Block Printing On Fabric 101 (The Ultimate Guide)
This Block Printing on Fabric 101, your Ultimate Guide, will help start you on your block printing journey.
If you’ve ever had an interest in wanting to learn how to block print on fabric, this post is for you!
Printing on textiles is a traditional process of applying different patterns onto the fabric. On the other hand, block printing is the magical blend of artistic craftsmanship and the patience and tenacity of the artisan.
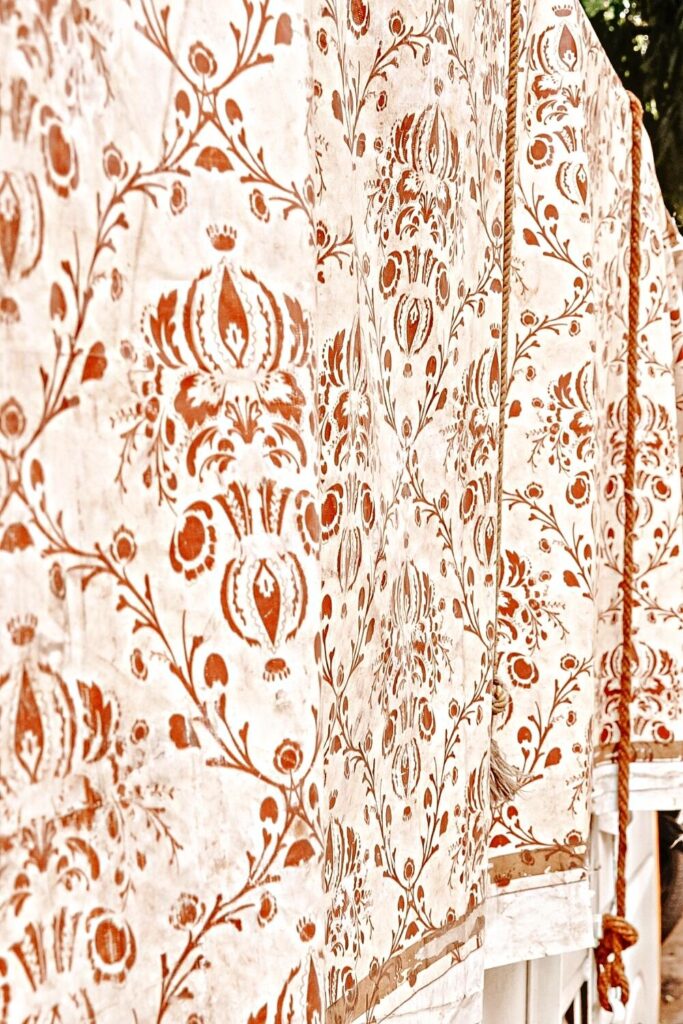
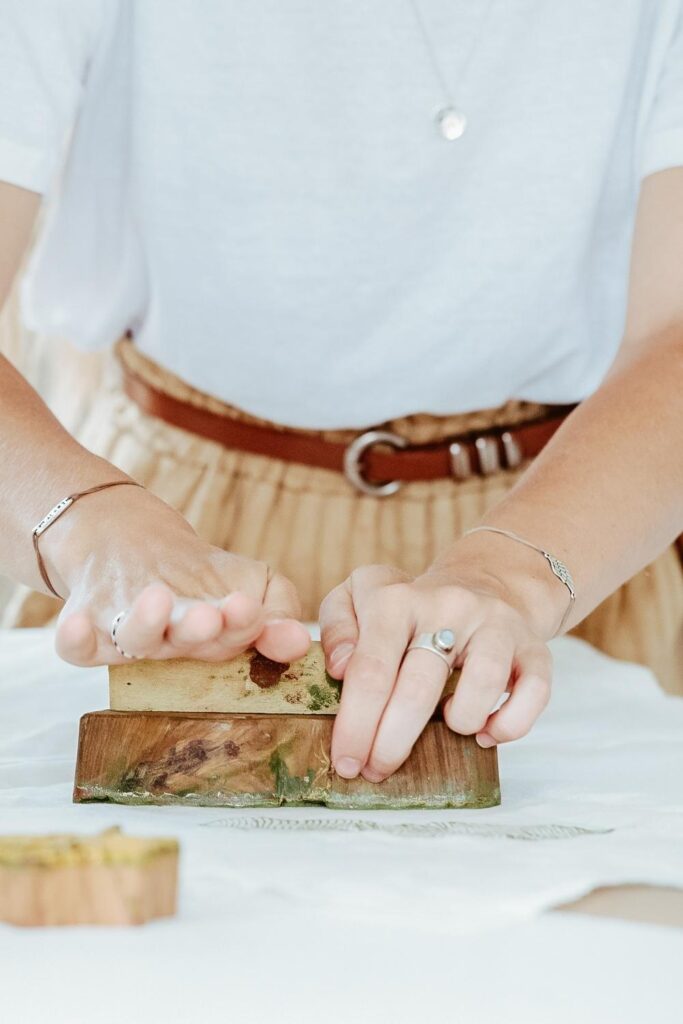
I find block printing enjoyable, relaxing, and rewarding, and it’s my other addiction besides sewing.
If you are new to block printing, this guide will explain the basics of block printing on fabric. Once you are familiar with the basics and decide you want to give it a try, you’ll find this craft is easy, fun, and therapeutic.
No worries if you are interested in block printing on paper rather than fabric! Block printing on paper is very similar to how to print on fabric. In fact, their steps are almost identical.
If you are a beginner, this Block Printing 101 Guide will show you everything you need to know to get started! I’ll include the tools you need to get started and how to prep your fabric before printing. We can practice together!
If this sounds interesting to you, keep reading.
What is Block Printing?
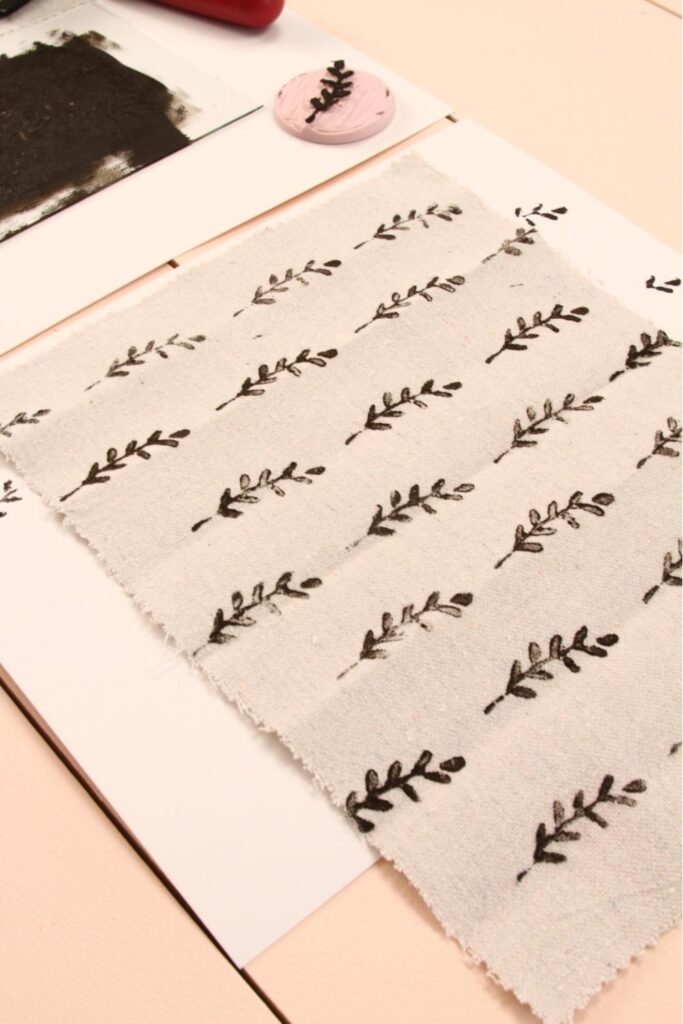
Block printing is the process of printing patterns utilizing engraved wooden blocks, linoleum, or rubber stamping.
It’s basically a technique of pressing or stamping the engraved block with ink onto fabric or paper.
The engraved patterns or prints can range from small to large images with intentional, repeated patterns to simple designs.
Block Printing 101: History
The earliest block printing practices originated in China during the third century AD. During that time, block printing was applied solely to the fabric. In the seventh century, block printing on paper was introduced.
Over time block printing was picked up in Asia, the Middle East, and Europe centuries later.
Block Printing 101: Types of Block Printing
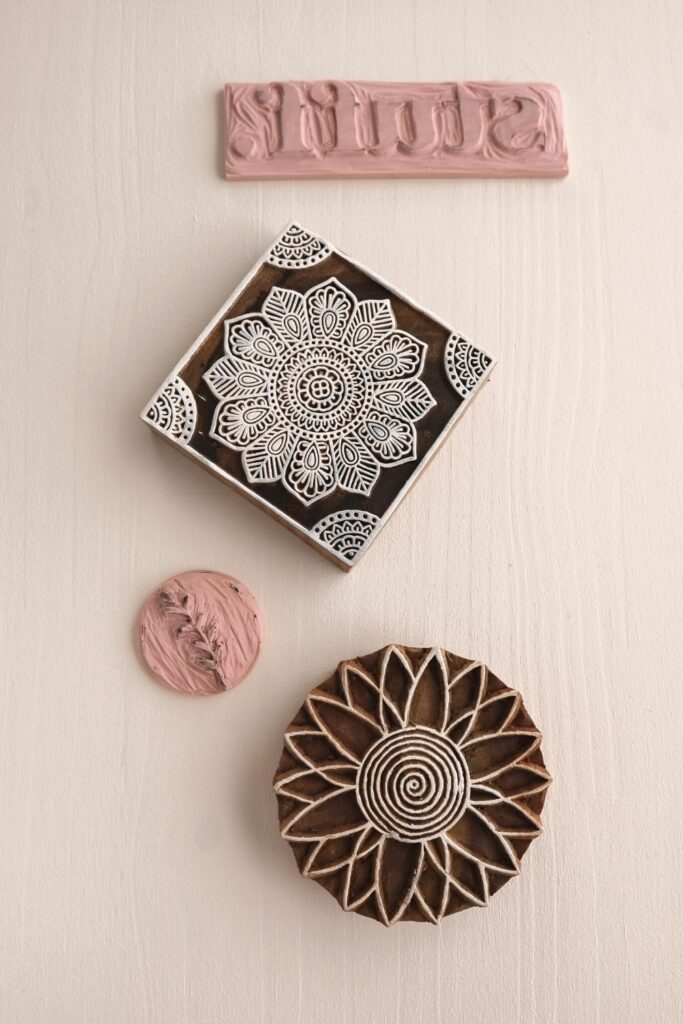
Several different techniques and materials are used for block printing worldwide. To name just a few, there are woodcut printing, block printing on fabric, Japanese Ukiyo-e woodblock printing, Linocut Printing, Reduction printing, and Rubber Stamps.
For this post, we will concentrate on Block printing on fabric with linoleum.
List of Basic Materials needed for Block Printing on Fabric
Block Printing Carving Block
Fabric block printing ink or Acrylic Fabric Paint
Acrylic Medium (if using acrylic fabric paint)
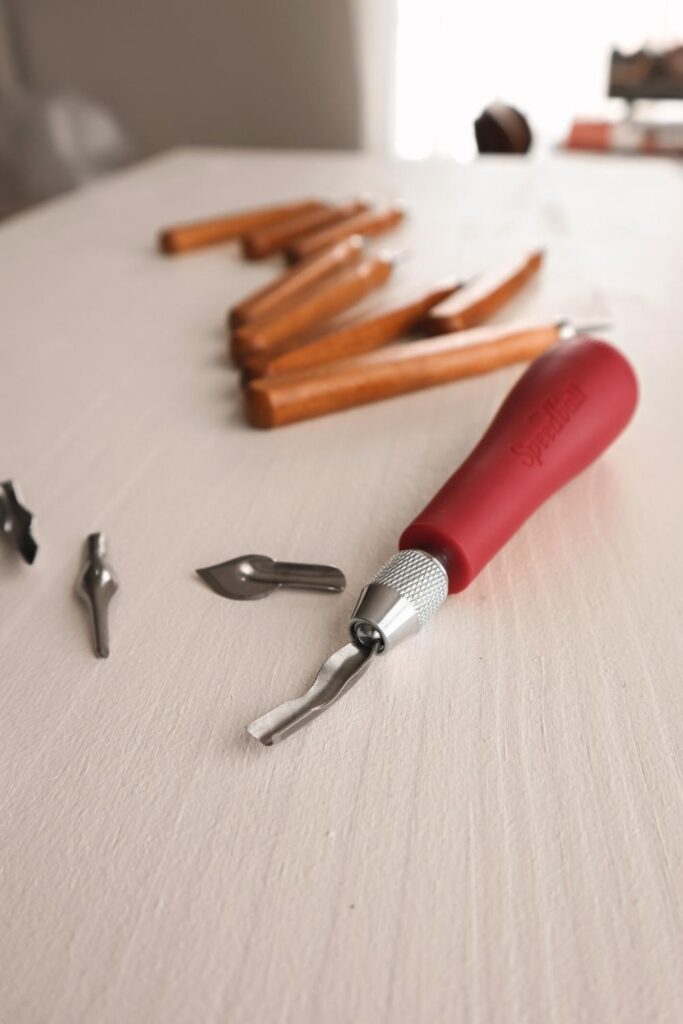
Sharp Linoleum cutter carving tool
Soft rubber brayer
Glass or acrylic sheet
No. 2 pencil
Tracing paper
fabric
Wax paper or newspaper
Smooth Cushioned base / thick silicone baking mat
Iron + Ironing board or Ironing pad
Crafting Scissors
Ruler or yardstick
Craft Stick or Plastic knife
*Optional Sponge Brush or Mini-Paint Roller

Block Printing 101: Choosing Fabric
If you’re just starting out, it’s best to practice block printing on simple unprinted fabrics so the ink can absorb evenly into the fabric. Also, it might be a great option to print on scrap material before applying ink to the actual fabric.
Choosing the suitable fabric will determine the final results.
Block Printing 101: Fabrics to Use
Cotton, Bamboo, Polyester, Hemp, and Linen are good choices for block printing on fabric. In addition, some tightly woven cotton drop cloth with less texture is a great choice.
Block Printing 101: Fabrics to Avoid
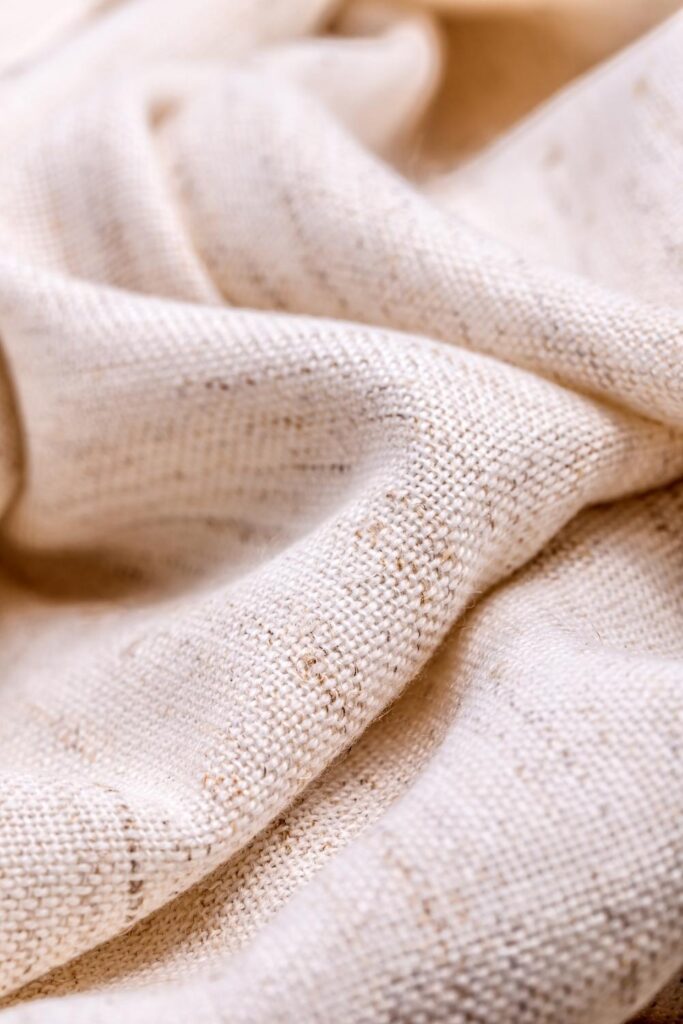
When block printing on fabric, the fabrics to avoid are those with heavy texture, canvas, twill, or materials that have extra lint or fuzziness.
These fabrics will impact your final results and possibly distort the design you envision.
If you must use a drop cloth, like me, I recommend shaving your fabric with a disposable razor to remove most of the extra lint. And try to find a weight that is tightly woven for less texture. I find that 7 oz works best.
Block Printing 101: Prepping your Fabric
This is so important! I do not recommend ignoring this step, my friend.
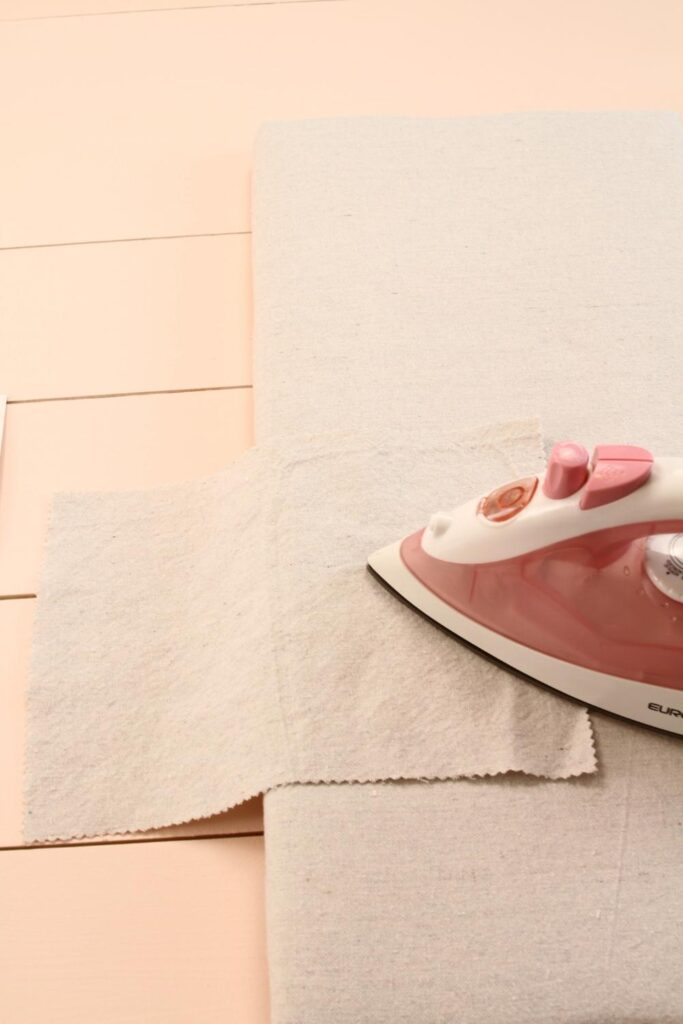
As you know, linen tends to be very wrinkly. Therefore, if you are printing on linen, The best practice for caring for linen and prepping linen for block printing is to iron the wrinkles first without steam.
Steaming out wrinkles in the fabric is a given, but wait! The best result for minimizing wrinkles for linen and prepping for block printing is this!
BEFORE you prewash your linen fabric, iron the linen at the highest possible heat setting with no steam. Then, wash with the hottest water, dry with the most increased possible heat, or line dry outdoors.
Doing so makes it easy to work with the material and lessens the wrinkles.
If you have a fabric with a lot of fraying, you may want to serge the raw edges or use pinking shears before washing.
Shaving it with a disposable razor works like magic if you use fabric with a high amount of texture or a bit fuzzy. I work with many types of drop cloth and use this technique, which works very well.
My last recommendation is to wash your fabric in the highest heat possible without fabric softener and dry on the most increased heat possible without fabric sheets.
This ensures the fabric removes sizing and manufacturing finishes.
Block Printing 101: Building your Block
The type of block you use is just as important as the fabric you use. When first starting out, I recommend starting out small.
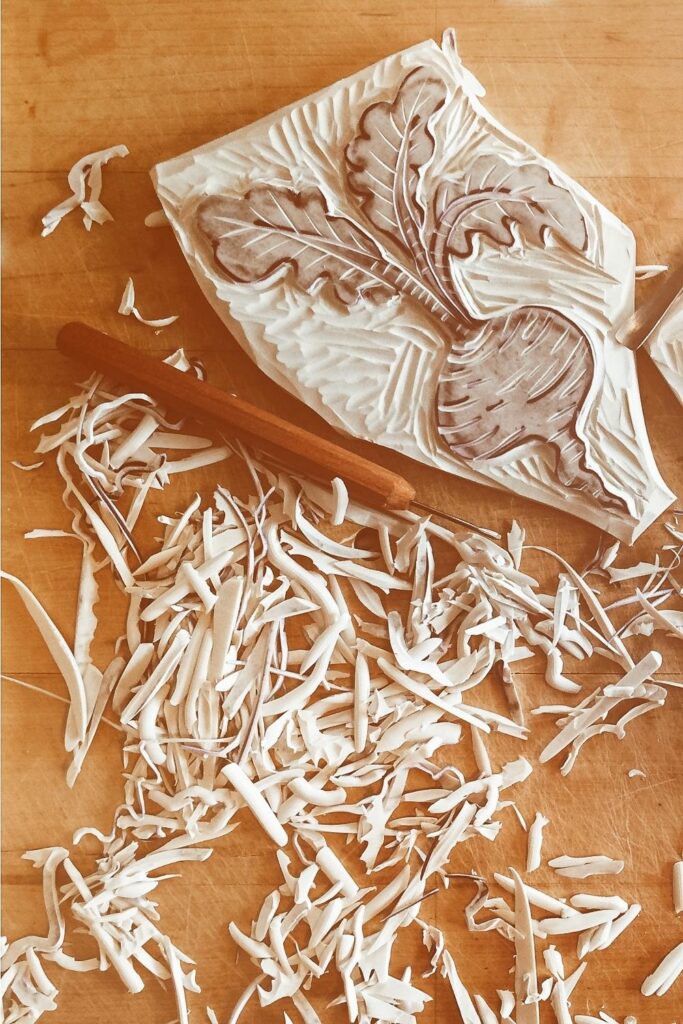
Most linoleum blocks come in 4X6-inch sizes. So, when I started, I would cut the 4X6 inch blocks into small 1X1 and 2X2 inch blocks until I was confident in designing the larger blocks.
Larger blocks, however, are a little harder to work with; if not careful, the block can weaken and cause cracks in your pattern.
This is why you should take your time when carving out your design. Carving your pattern is an art; taking it slow is therapeutic and rewarding to the soul.
It sounds Corny, I know. Just wait until you try it on your own.
Block Printing 101: Sketching your design
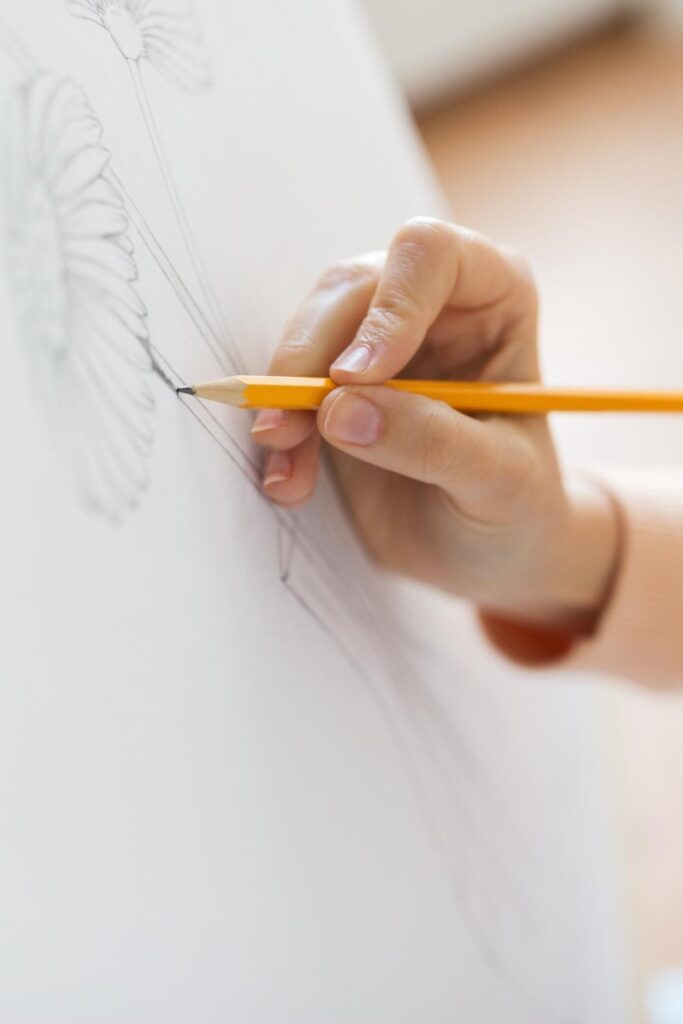
Sketching your design is best done on paper rather than directly on the block. This is because mistakes can happen, and it’s easier to erase writing than the block.
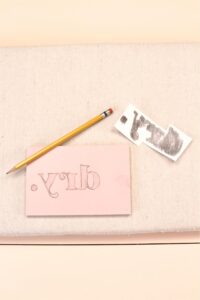
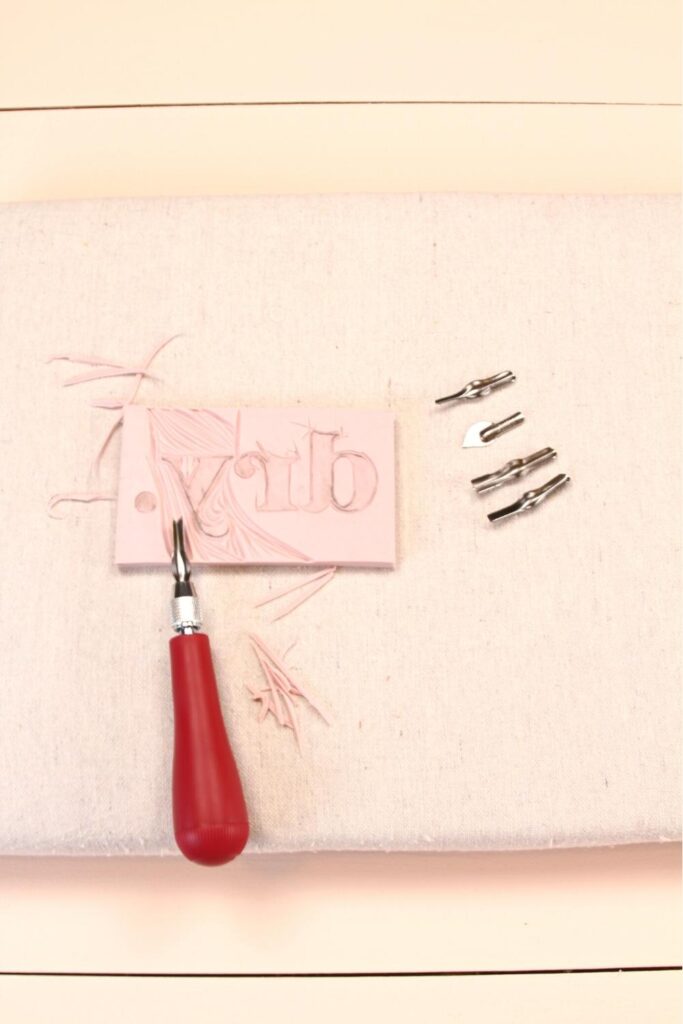
Remember, when drawing your pattern that when you transfer your design onto the block, your drawing will be a mirror image. Therefore, planning ahead is essential, especially when drawing numbers or letters.
Ensure that your drawing is sized according to the size of your block. Knowing your dimensions will save you a lot of time. Also, ensure your design is not too close to the edge of the block.
Block Printing 101: Paint/Ink
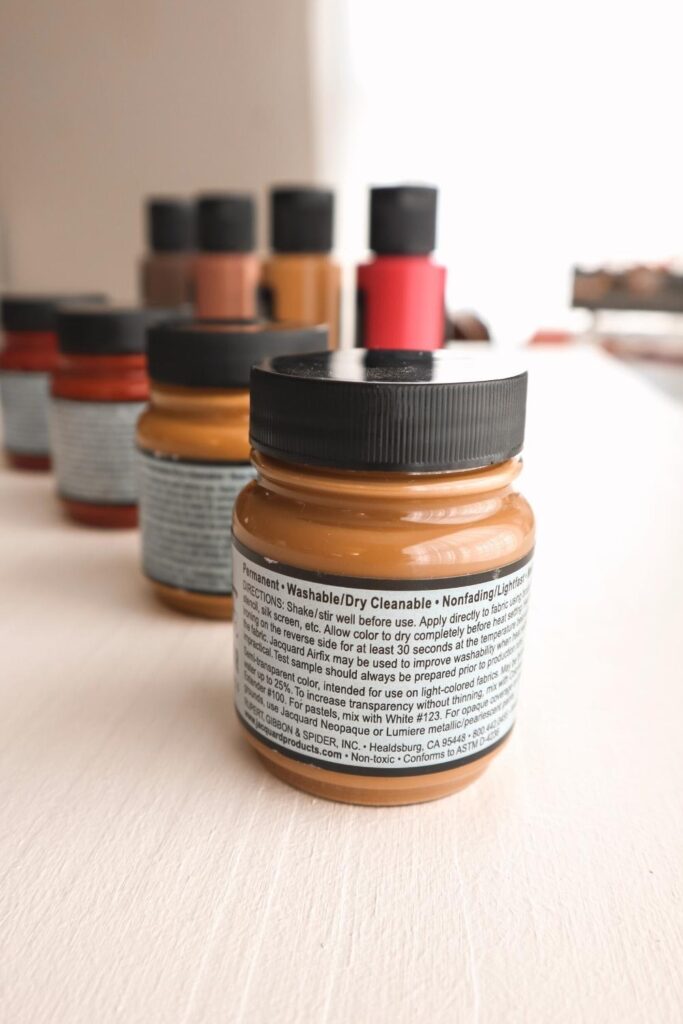
When working with multiple block prints/stamps and colors, stamp your prints one color and one block at a time. Ensure the ink dries completely before adding another color, as the ink will bleed into each other.
Block Printing 101: Patience
Creating your block is time-consuming. Take your time and enjoy yourself. Take many breaks if you have a more complex design. After all of that work, you’ll want your finished product to be something you are proud of.
How to Make a Block
I recommend practicing on a block that you don’t mind destroying first.
Yes, destroying! While practicing, I went through (wasted) two blocks getting familiar with my tools before making my actual blocks.
How to Block Print on Fabric Step-By-Step
Step 1: Have a plan
Like any other creative project, you’ll want to have a plan. First, plan out the type of end result you want.
Plan the design of the pattern; how do you want the design/pattern to be distributed on your fabric? Do you want even straight lines or want them placed randomly throughout your material?
Do you want one block pattern or two? Do you want one color or multiple?
Step 2: Create your design/pattern onto a piece of paper using a No. 2 pencil.
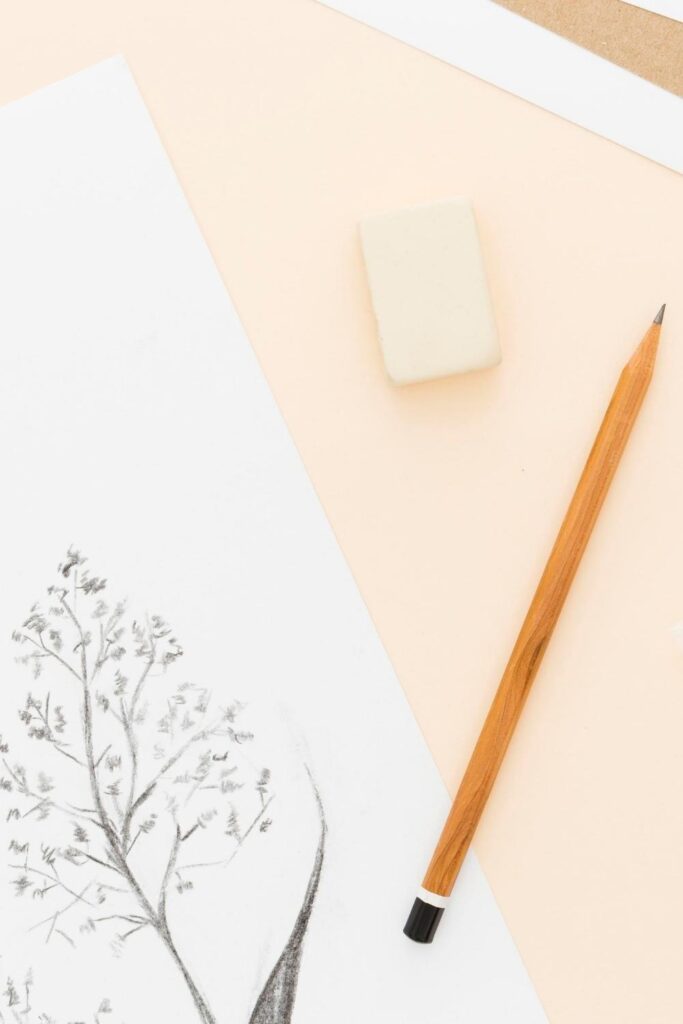
Ensure your design fits the block you plan on transferring it to.
If you are not comfortable drawing your own design, you can download and print a design from our resource library here. But, if you’re not signed up yet to have complete access to the freebie downloads, you can sign up here.
Or, find an image from another source, print a copy, and trace over the printed image.
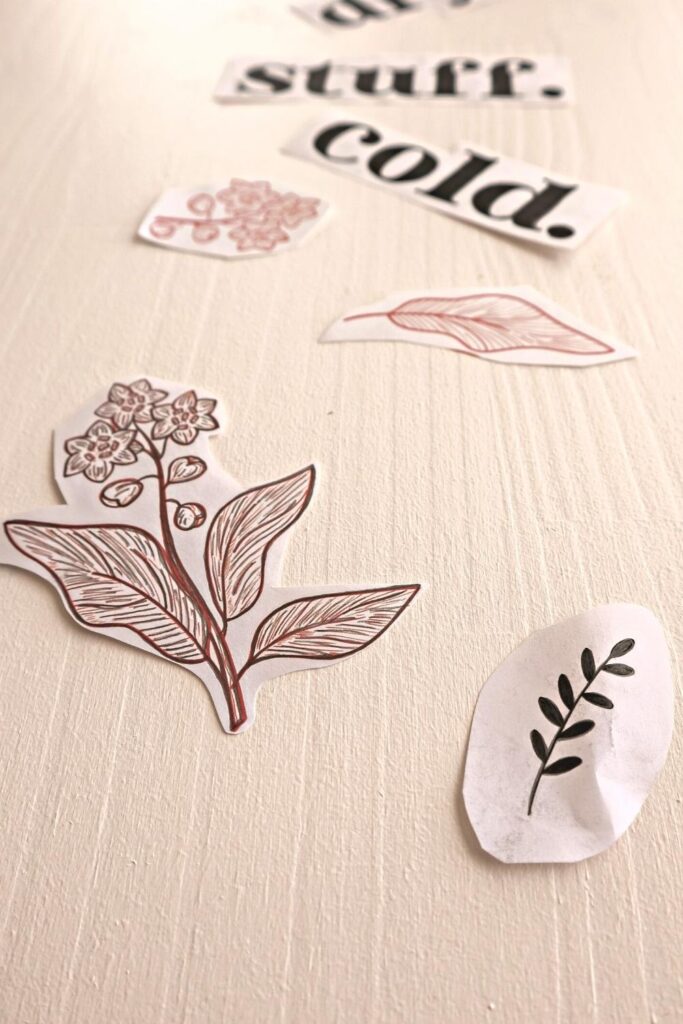
Ensure enough pencil ink pressure is applied when drawing or tracing your design. So that when you transfer the pattern onto the block, the pencil ink transfers nicely without gaps.
Remember when drawing your pattern that when you transfer your design onto the block, your drawing will be a mirror image. Therefore, planning ahead is essential, especially when drawing numbers or letters.
Step 3: Transfer Design To Block
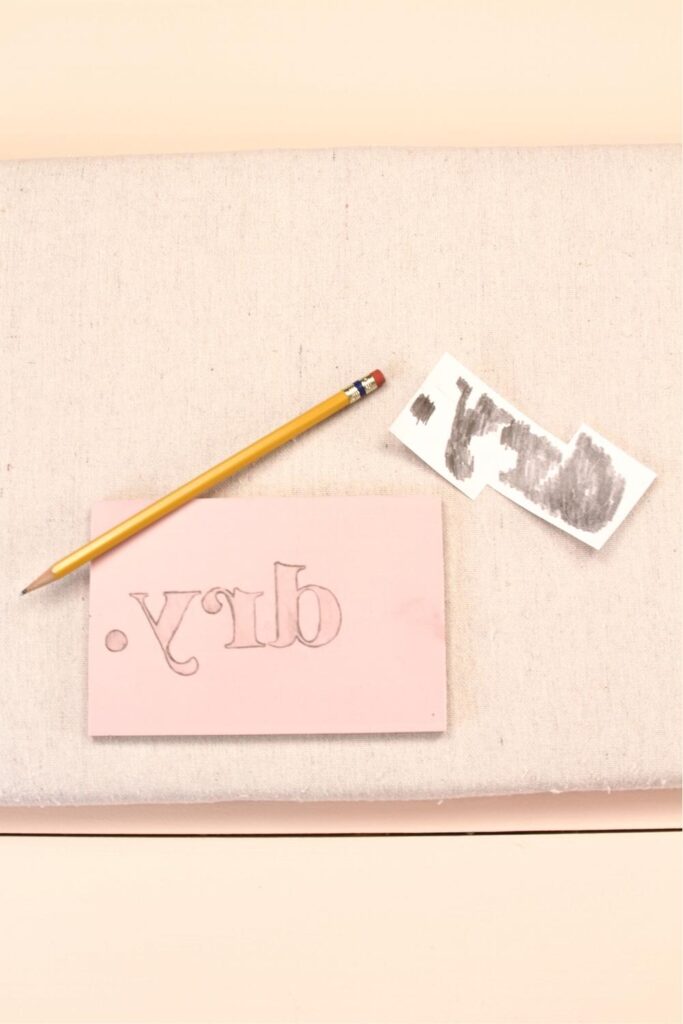
Carefully position and center the paper pattern onto the linoleum block face down to transfer your designed pattern.
Gently press the paper into the block to transfer the pencil ink. Next, peek at the block without removing the pattern to see if the design has any gaps.
If you have gaps, continue pressing or use the pencil eraser to gently stroke the back of the design onto the block.
Remove the paper when the transfer is successful.
If you’ve made a mistake, it’s okay. Wash your block with warm water and dish soap, rinse, thoroughly dry, then start over.
Step 4: Carving Block

Using your carving tools, carve out your design. This is the part where you should take your time.
Be careful with the tools, as they are very sharp!
Follow the lines of your design and carve out the areas you do not want to print on your fabric. Use the more prominent tool (#5)for broader areas and finer ones (#1) for delicate areas or tight corners.
You’ll want to experiment with the different tools to get your desired results. Hopefully, you did a few practices testing your tools before starting.
When you have a look you want and are satisfied, trim the edges around your design with scissors.
Wipe your new block with a soft, damp cloth to remove debris.
Step 5: Prepare your workspace
Place wax paper or newspaper on the table to protect your workstation. Then position your smooth cushioned base or silicone baking pad dedicated for block printing on the table.
When stamping your fabric with ink, the cushioned base helps the ink distribute even while pressing the block on the fabric.
Please note that the ink may bleed through your fabric onto the cushioned pad. If you want to protect the cushion, adding another sheet of wax paper over it will save it.
Step 6: Fabric
 Prepped Fabric
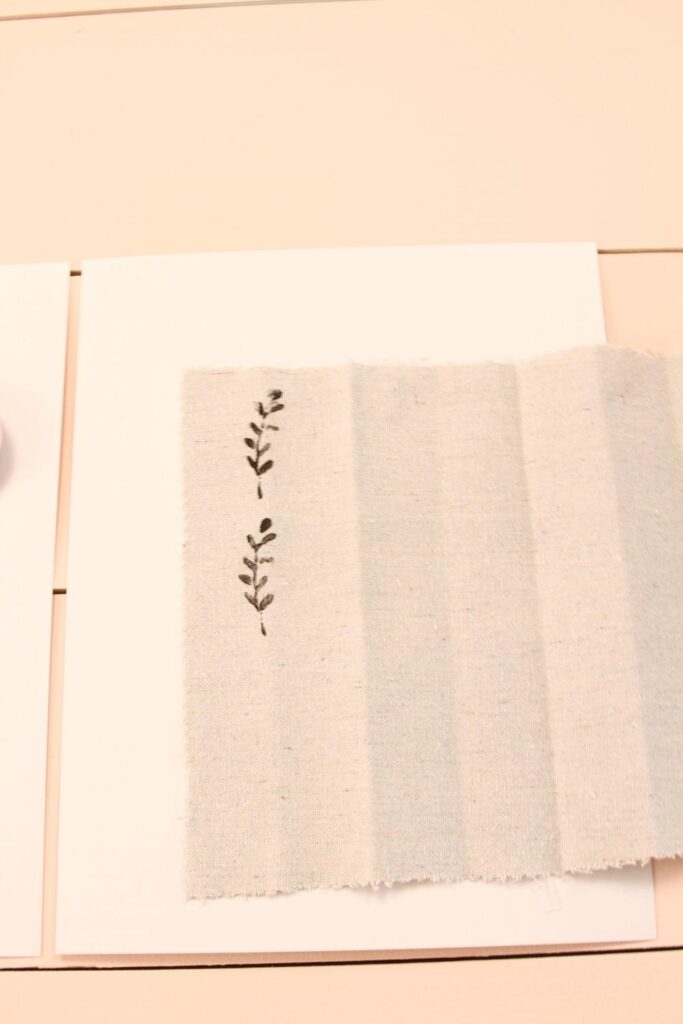 Add lines to use as a guide
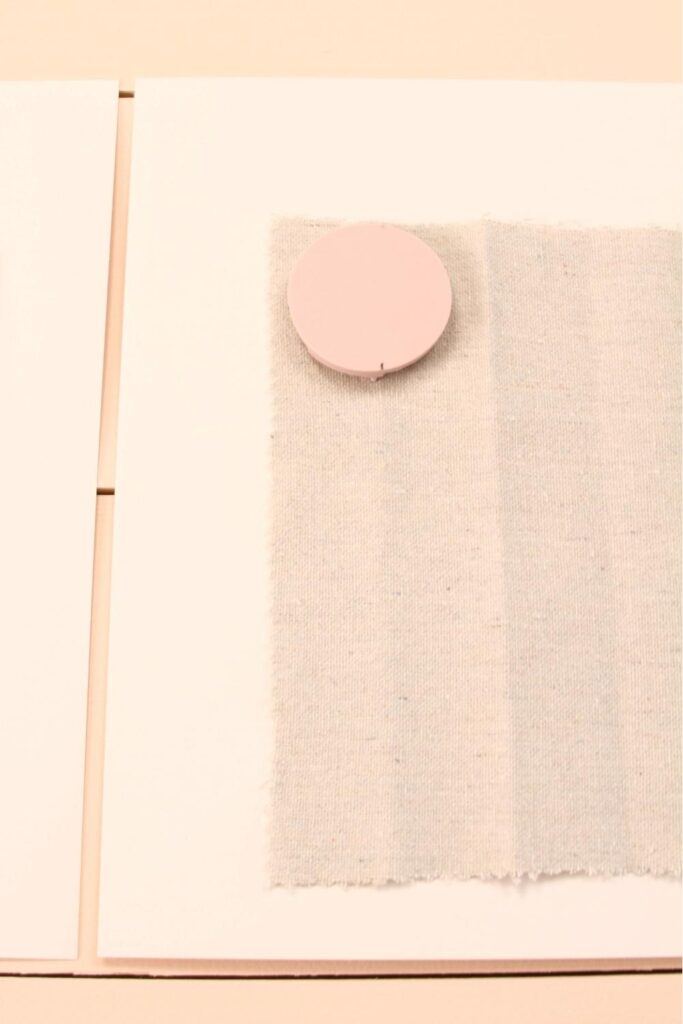 Iron lines by folding fabric like a fan
Hopefully, at this point, you’ve properly prepped your fabric and that it’s washed, pressed, and ready to go.
If you are printing your design randomly throughout the fabric, enjoy!
Start marking your fabric if you plan on having a continuous or repeated pattern.
For example, if you want perfectly even vertical lines covering the entire fabric, draw the lines on your fabric with a pencil to guide. Or, you can fold your fabric like a paper fan with pleats, then press with a heated iron to create ironed lines.
Now, Center your fabric over the cushioned pad. Ensure it’s in a position that is comfortable for you, whether you are standing or sitting while block printing.
Once you start, you’ll want to avoid the fabric moving around or getting bonked by your elbow, and you’re left with unsightly ink smudges.
Trust me, been there, done that!
You can pin down the fabric if you want to keep it from moving around.
Step 7: Paint/Ink
Now the best part, it’s time to bring that vision to life!
Always follow the vendor’s instructions for the proper paint or ink use.
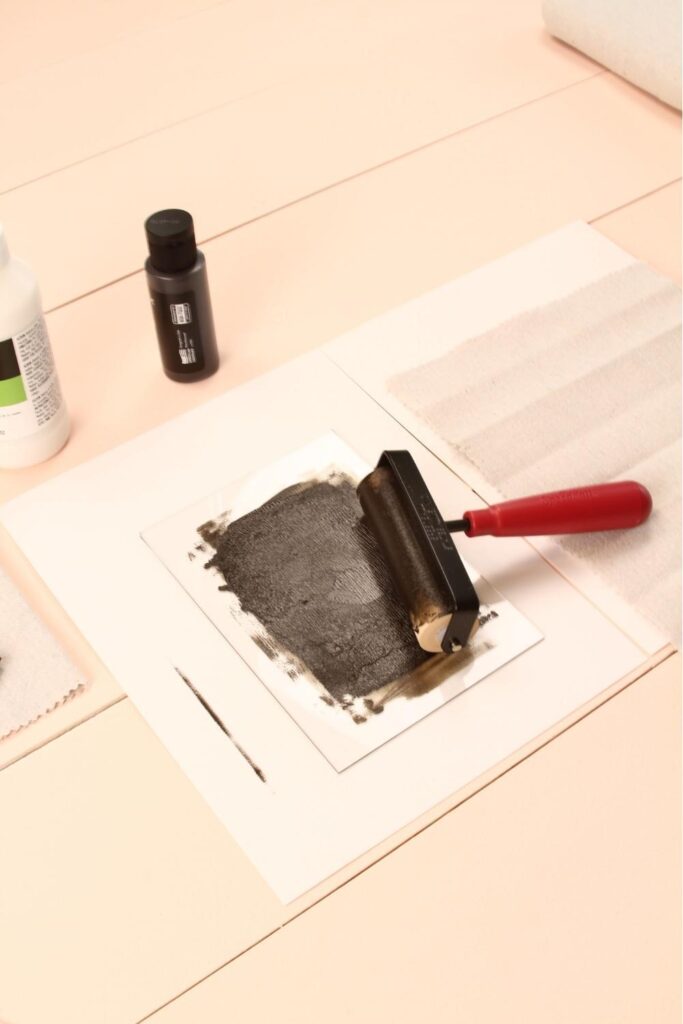
Squeeze or pour a small amount of block printing ink onto the acrylic sheet or glass.
or
Squeeze or pour a 1:1 ratio of Acrylic medium and acrylic fabric paint; if you’re not using block printing ink, mix well with a craft stick or plastic knife. The medium will help adhere to the paint and keep the vibrant color longer during washes.
Spread the paint evenly on the glass with the rubber brayer. You won’t want the paint or ink too thick or cakey.
Step 8: Printing Fabric with your Block

You can print your fabric in two ways. First, you can dab the block directly into the ink or brush/roll the ink onto the block with a sponge brush or paint roller. It’s what is more comfortable for you.
While firmly gripping the edges of your block, position the inked side of the block onto your fabric either randomly or onto your designated prepared line you created earlier. It’s all up to you.
Press the block to evenly distribute the ink, then remove and repeat.
Step 9: How to Dry and Set the Ink on your Printed Fabric?
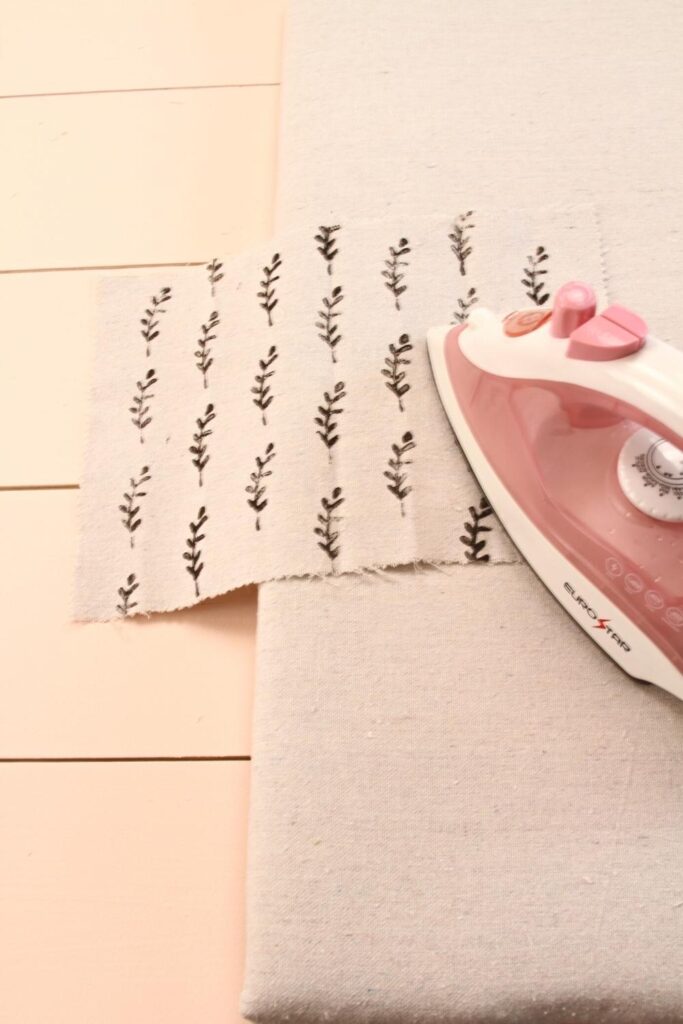
To dry your block printed fabric, you can let it air dry for up to 24 hours or longer, depending on how thick the ink is and what type of ink you used.
Or, you can hang it to dry outdoors until it’s thoroughly dry.
Once completely dry, you’ll want to set the ink/paint into the fabric for longevity. First, place a protective cloth over the printed fabric to protect it from heat, then press with an iron for several minutes, careful not to burn the fabric.
Step 10: How do I wash my Block Printed Fabric?
Wash in a regular cycle with cooler temperatures, dry on a clothesline outdoors, or normal cycle in the dryer.
If the print is on apparel, dry the garment inside out if drying in the dryer. Press with iron inside out when needed.
Step 11: Cleaning Blocks
Immediately remove the ink or paint from the blocks to preserve the block to use over and over.
This may not be advised, but I wash my blocks with warm water and dish soap and dry them with a terry cloth.
I have been pretty lucky preserving my blocks. I haven’t experienced any cracking.
You can use block printing ink remover if you want to go that route. Professionals may advise you to clean your blocks this way as well.
Step 12: How to Store Block Printing Blocks?
It’s best to store linoleum blocks in an air-tight container or plastic covering to prevent cracking or crumbling.
Ensure the blocks are thoroughly dry before packaging or storing. This is to prevent bacteria or growth from destroying the masterpiece you created.
I hope this guide was helpful and it gives you the confidence to start your block printing journey. Be sure to sign up for updates for more block printing, sewing, and craft posts!
Let me know in the comments below if you have anything to add to this guide, or let us know which stamp designs you’d like to see on Sewpapilla.
