DIY CHEERLEADING POM POMS
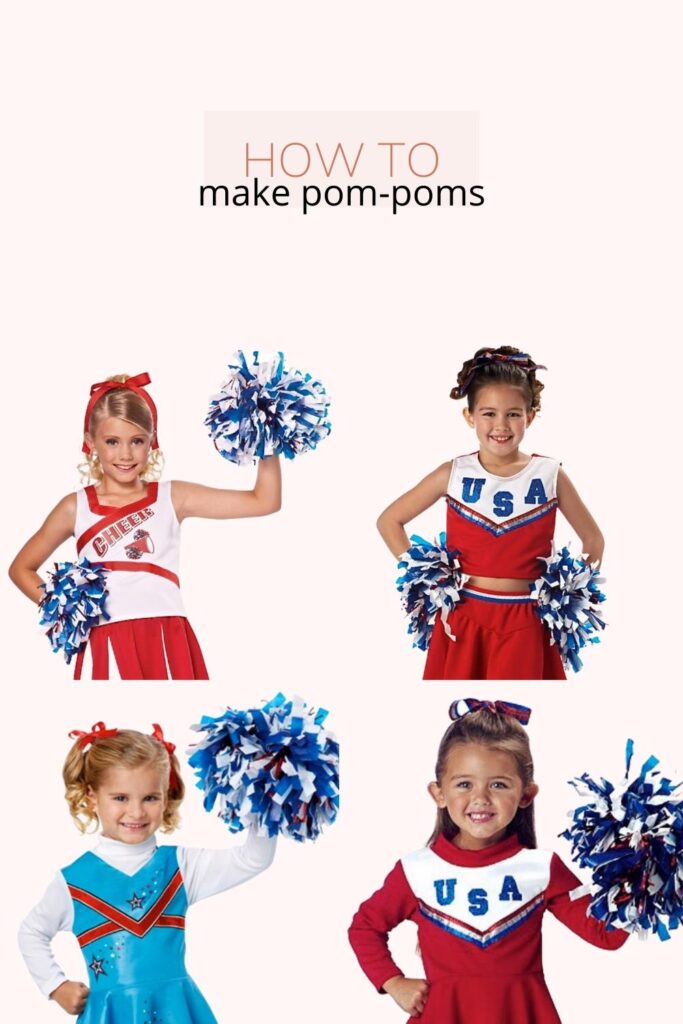
Hi Friends! Are you looking for an easy way to make DIY Cheerleading pom-poms in just a few steps? Look no further; I’ve got your back! You’ll have your very own cheerleading poms in no time at all!
The DIY cheerleading pom-poms are fun to use for sports games or at home to watch your favorite game.
And, the best part is; they GLOW IN THE DARK handles are so fun for kids!
There is a local volleyball team here in San Antonio for kids to join, and little Jozel made the all-girls Strikers Team.

Jozel’s volleyball games were every Saturday for a couple of months. Our family was there cheering on her team, with our pom-pom’s, of course!
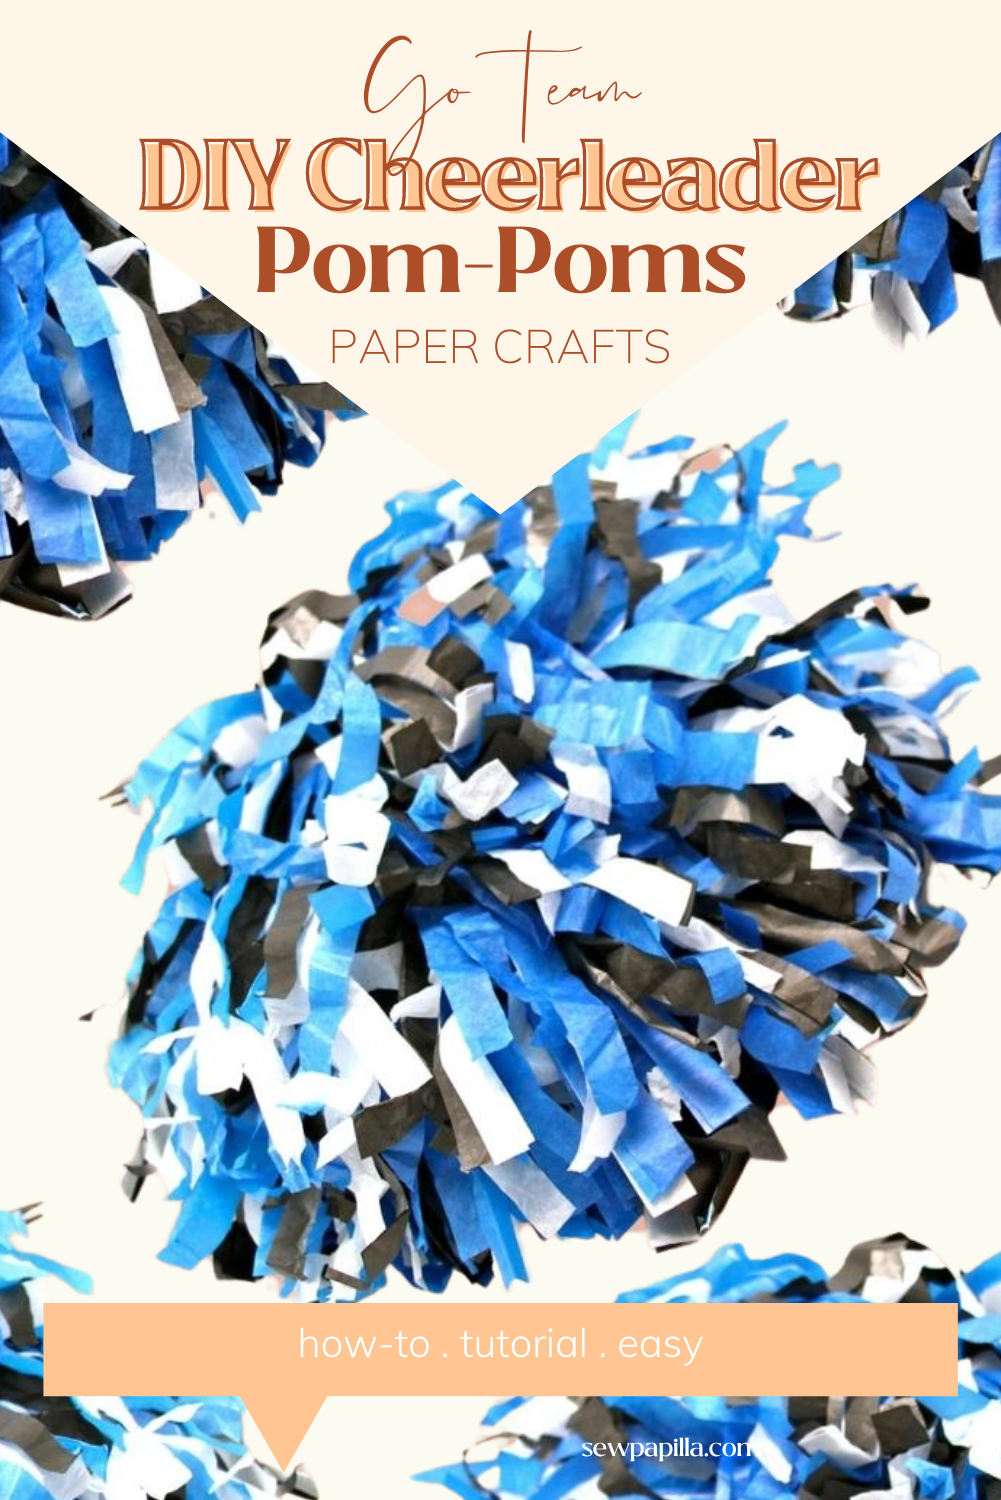
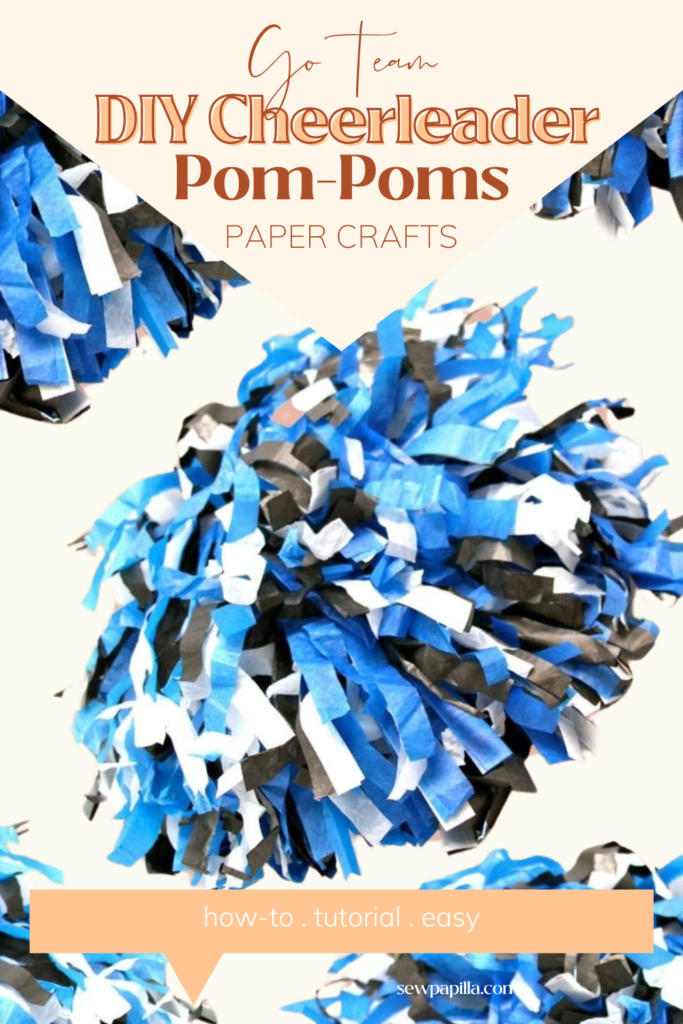
The Strikers volleyball team colors were black, blue, and white. To show our team spirit for her team, we made this DIY Cheerleading pom-pom shown below.

Ready to make your DIY Cheerleading Pom-Poms? It’s super easy, I promise! And, It cost me only $5.00 to make these! Outstanding, right!?
Choose your team colors, and LET’S GO!
SUPPLIES
- 6 Large pieces of Blue Tissue Paper
- 6 Large pieces of Black Tissue Paper
- and 6 Large pieces of White Tissue Paper
- 1 36 inch piece of Blue Yarn
- 1 Glow in the Dark Bracelet
- Scissors
- Hot Glue Gun
- Glue Sticks
STEPS 1-4 POM POM’S
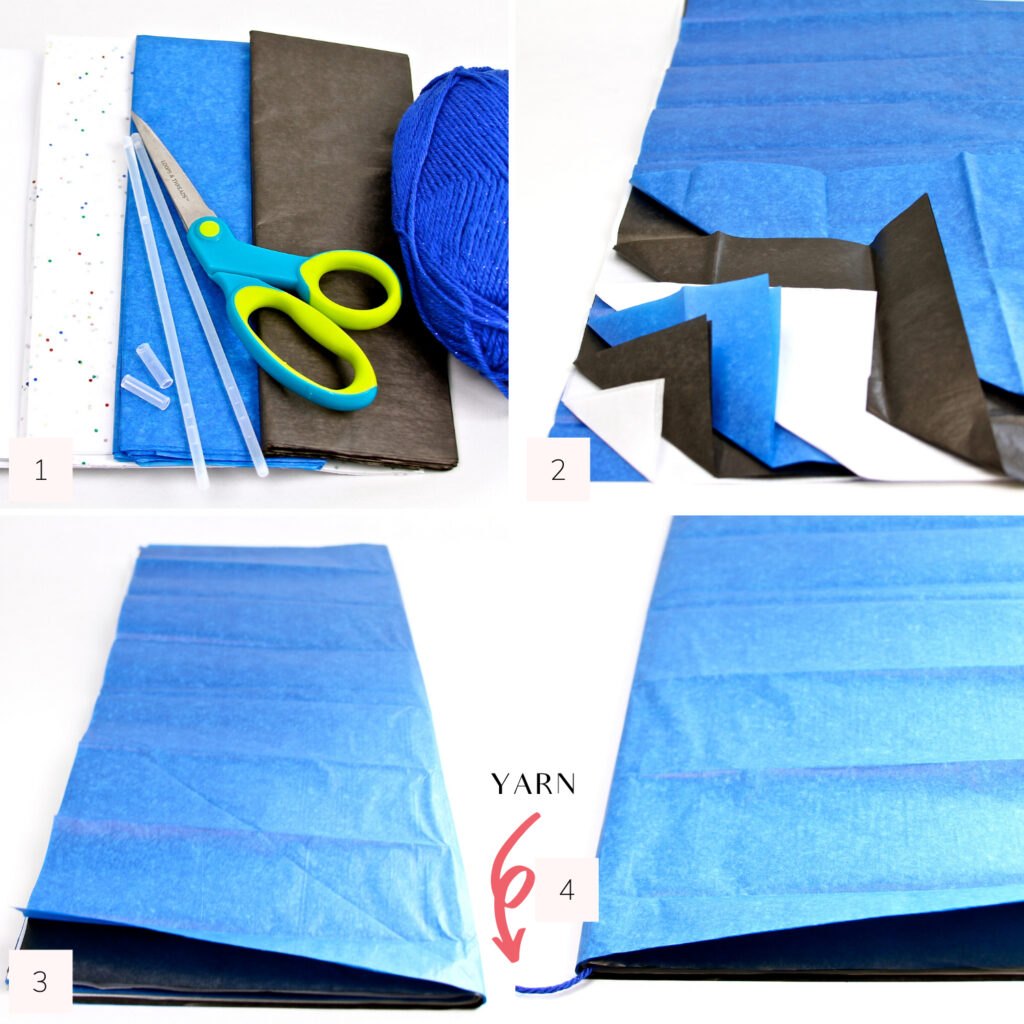
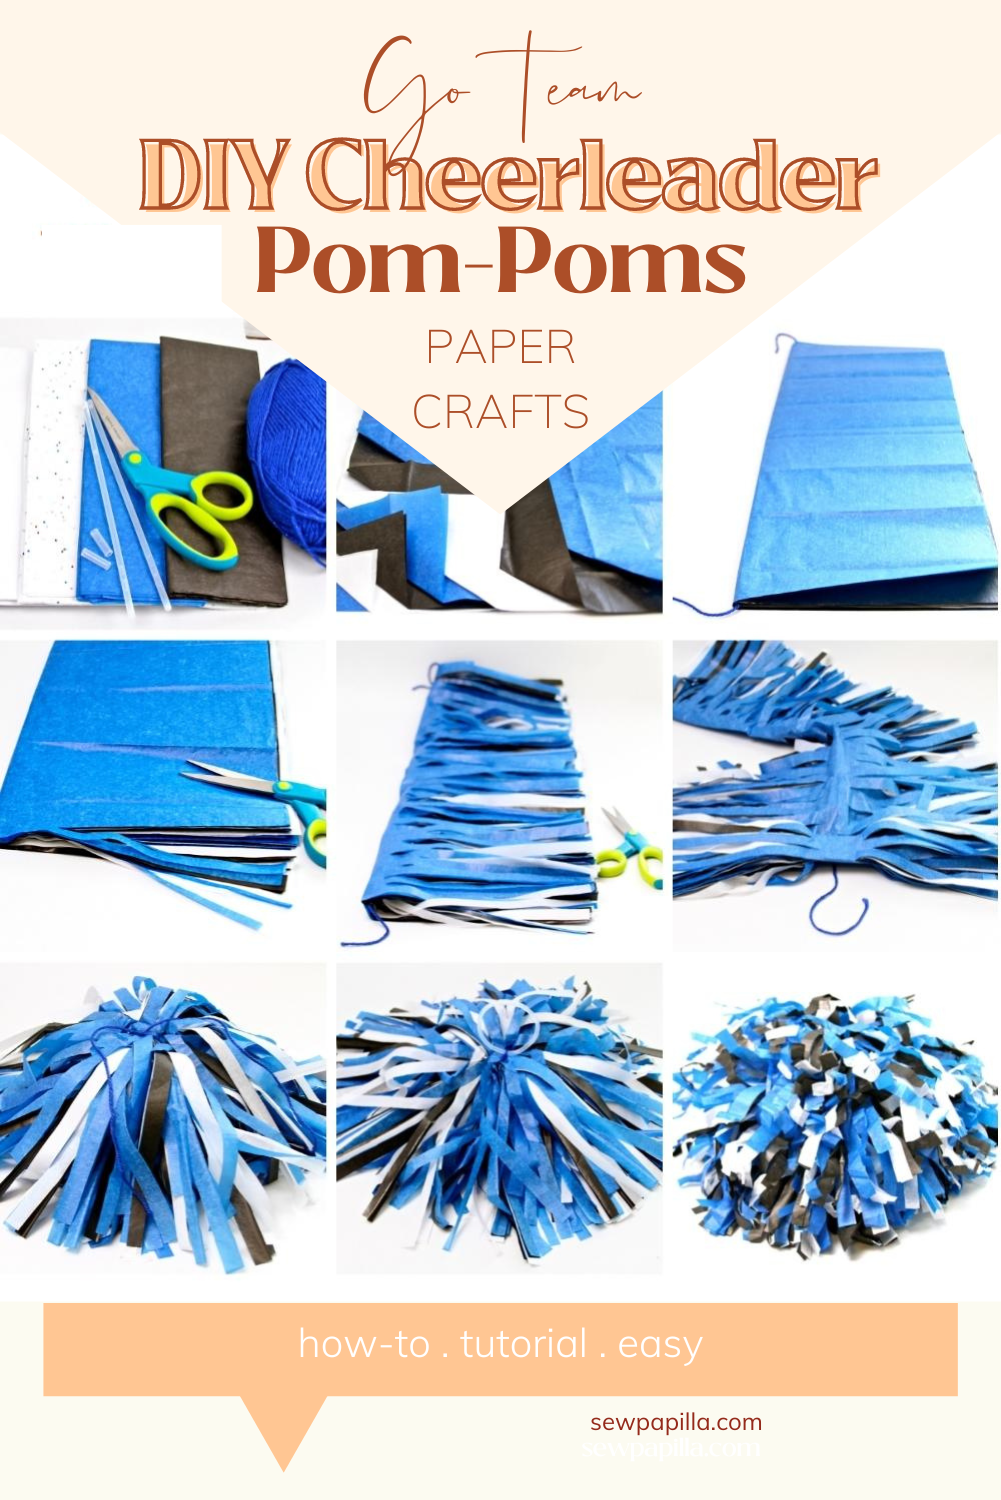
STEP 1: Gather the supplies needed for the poms. We’re using blue, black, and white tissue paper for this tutorial for the Strikers Team.
STEP 2: Layer the multiple colors of tissue paper on top of each other, as shown in #2 above. Each color will have two sheets of tissue paper.
For example, the layers above have two blues, two whites, two blacks, again two blues, two whites, two blacks, and so on.
It’s up to you how many layers you want. The more layers you have, the more fullness you’ll have.
STEP 3: Now, fold the tissue paper in half.
STEP 4: String the yarn in between the folded tissue paper. The yarn will be used as a guide for step #7 below.
STEPS 5-8 Cheerleading POM POM’S
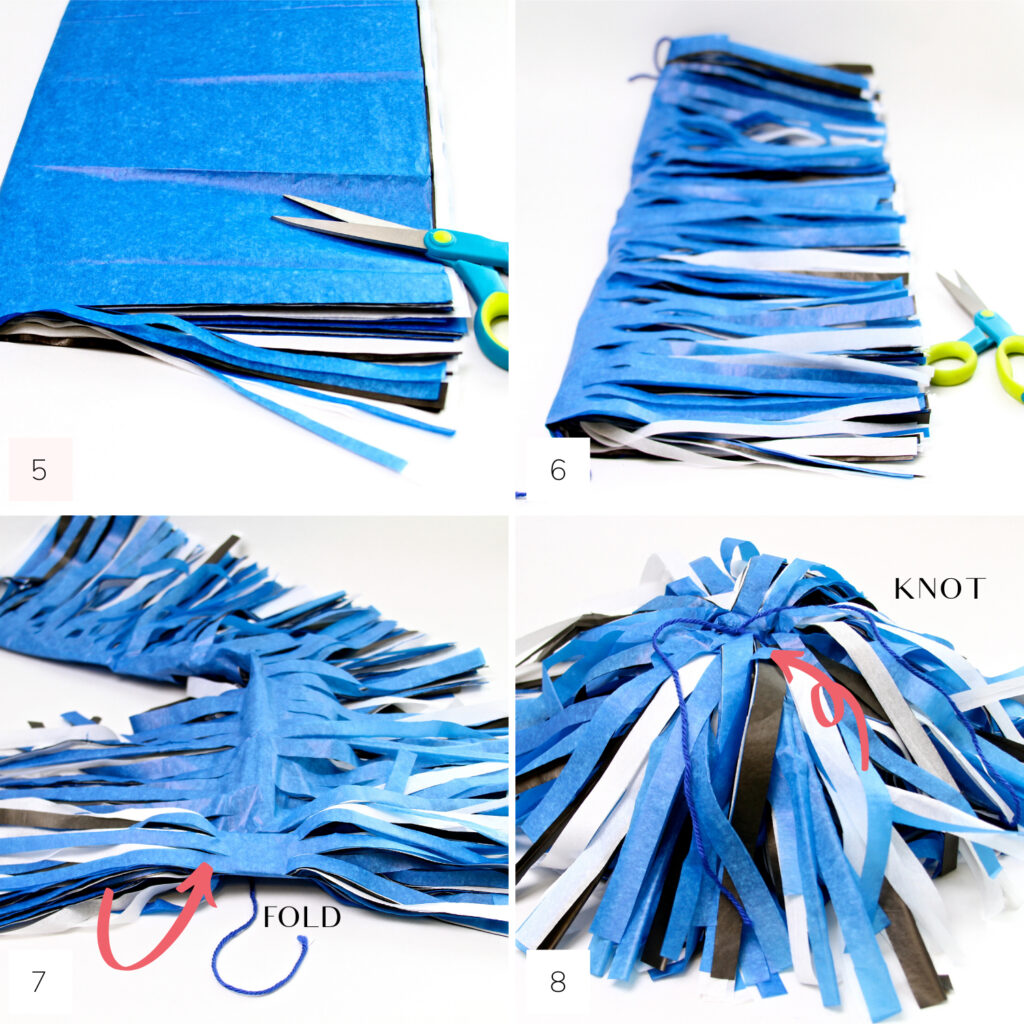
STEP 5: Cut your desired width of strips.
Grip the bottom edge of the layered tissue paper with your fingers and cut your strips, leaving at least one inch uncut from the folded edge.
STEP 6: Continue to cut the strips from one end to the other.
STEP 7: Unfold the tissue paper carefully.
Start opening up the tissue paper by separating the strips at one end. The string will help guide you to the center. Next, grab each yarn end and slowly separate the strips to unfold.
Now, gather and unfold the layers from one end to the other, kind of like rolling a pig in a blanket. Ha!
STEP 8: Tie yarn around the gathered-up tissue paper and tie several knots to keep it secure.
STEPS 9-11 Cheerleading POM POM’S
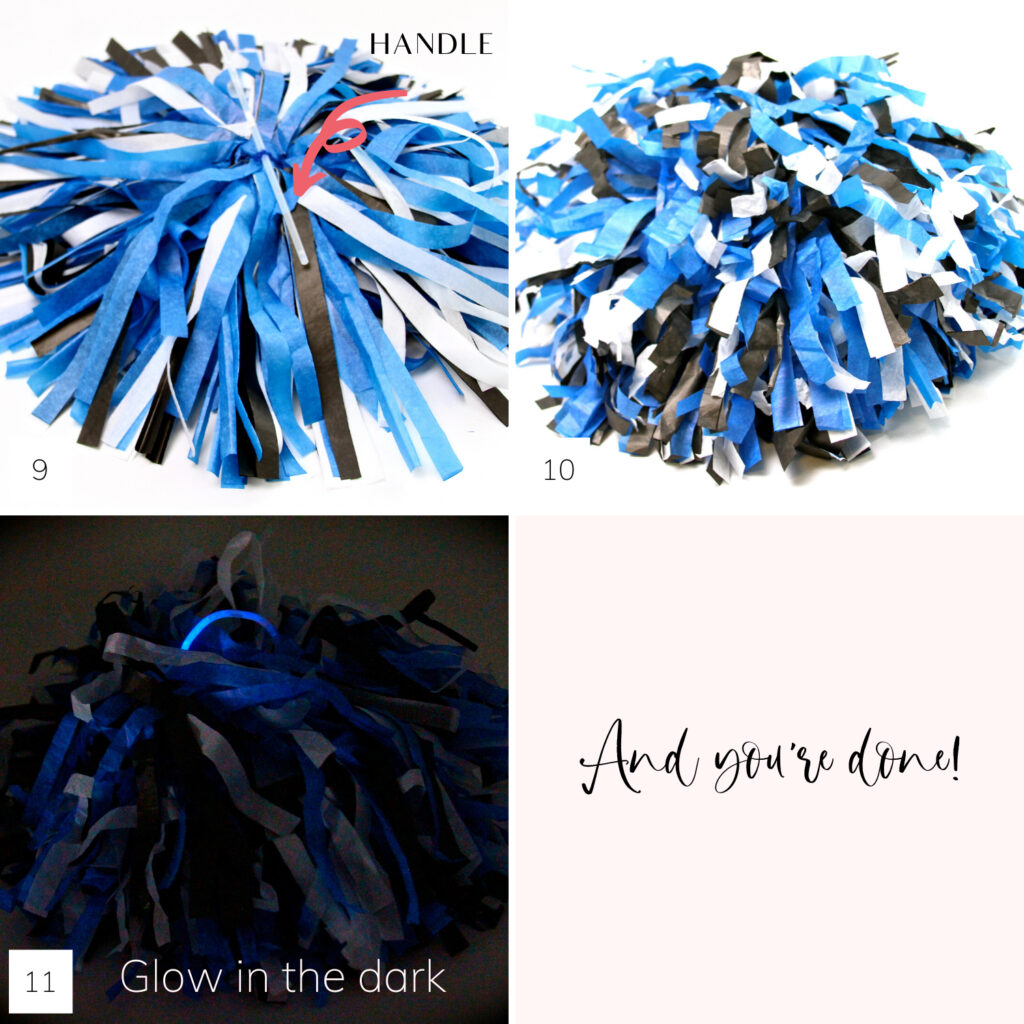
STEP 9: Assemble the handle. Place one Glow Stick underneath the knotted yarn.
STEP 10: Place a small amount of hot glue on one end of the glow stick and place one side of the glow stick fitting onto the glued tip. Repeat on the opposite end.
Your glow stick bracelet is now a pom handle!
STEP 11: Fluff up your Pom Pom’s and shake to activate the glow-in-the-dark handles.
Start separating and scrunching the strips in small sections to fluff the poms.
Now, this is important; the more you scrunch and squeeze the strips, the more fullness you’ll have.
That’s it; now you’re done!
By the way; Be sure to sign up for Sewpapilla updates below; that way, I can notify you of future Pom Pom Ideas I post here on my blog.
See, I told you it was easy making DIY cheerleading pom-pom’s. All that’s left to do is to spread that team spirit for your favorite team using your very own DIY Cheerleading Pom Pom’s!

TAKEAWAY
Bottom line; these cheerleading pom-poms were easy and fun to make.
The best part is the supplies were inexpensive to make these pom-pom’s and only cost $5.00, can you believe it?
You can add any color you desire and make them as fluffy as you’d like.
In the comments below, let me know your thoughts on the DIY Cheerleading Pom Pom project and which colors you’re going to choose for your team spirit!
Also, I’d love to hear your ideas are more than welcome.

